Renovating your kitchen is a significant project that requires careful planning and execution. Installing a new kitchen involves several stages, from initial preparation to final touches. This step-by-step guide will help you navigate the process, ensuring a smooth and successful kitchen installation.
1. Planning and Design
Overview: Before any physical work begins, it’s crucial to plan and design your kitchen thoroughly. This stage involves determining the layout, selecting materials, and planning the installation sequence.- Measure Your Space: Accurately measure the dimensions of your kitchen, including walls, doors, windows, and ceiling height.
- Choose a Layout: Decide on the best layout for your kitchen (e.g., U-shaped, L-shaped, galley, or open-plan).
- Select Materials: Choose materials for cabinets, countertops, flooring, backsplash, and appliances.
- Create a Design Plan: Use design software or work with a kitchen designer to create a detailed plan, including a 3D rendering if possible.
2. Preparing for Installation
Overview: Preparation is key to a successful installation. This stage involves clearing the kitchen area, setting up a temporary kitchen if needed, and making any necessary structural changes.- Clear the Area: Remove all items from the kitchen, including furniture, appliances, and decorations.
- Set Up a Temporary Kitchen: If you will be without a kitchen for an extended period, set up a temporary area with essential appliances.
- Structural Changes: Make any necessary structural changes, such as moving walls or installing new windows or doors.
- Electrical and Plumbing Work: Update or install new electrical wiring, outlets, and plumbing. Ensure all work is up to code and schedule inspections as needed.
3. Demolition
Overview: Demolition involves removing the old kitchen to make way for the new installation. This step can be messy and requires proper safety measures.- Turn Off Utilities: Turn off water, gas, and electricity to the kitchen to ensure safety.
- Remove Cabinets and Countertops: Carefully remove existing cabinets and countertops.
- Remove Flooring: Take up old flooring if it will be replaced.
- Dispose of Debris: Dispose of demolition debris responsibly, using a dumpster or hiring a waste removal service.
4. Flooring Installation
Overview: Installing the flooring before cabinets can ensure a clean look and make future maintenance easier. Choose durable and stylish flooring that suits your kitchen design.- Prepare the Subfloor: Ensure the subfloor is clean, level, and free of any damage.
- Lay the Flooring: Install the flooring according to the manufacturer’s instructions. Common options include tile, hardwood, vinyl, and laminate.
- Allow Time to Set: Allow the flooring to set and cure as needed before moving on to the next step.
Join HICP Homeowner’s Alliance
Connect with experts, get special discounts and enjoy member benefits
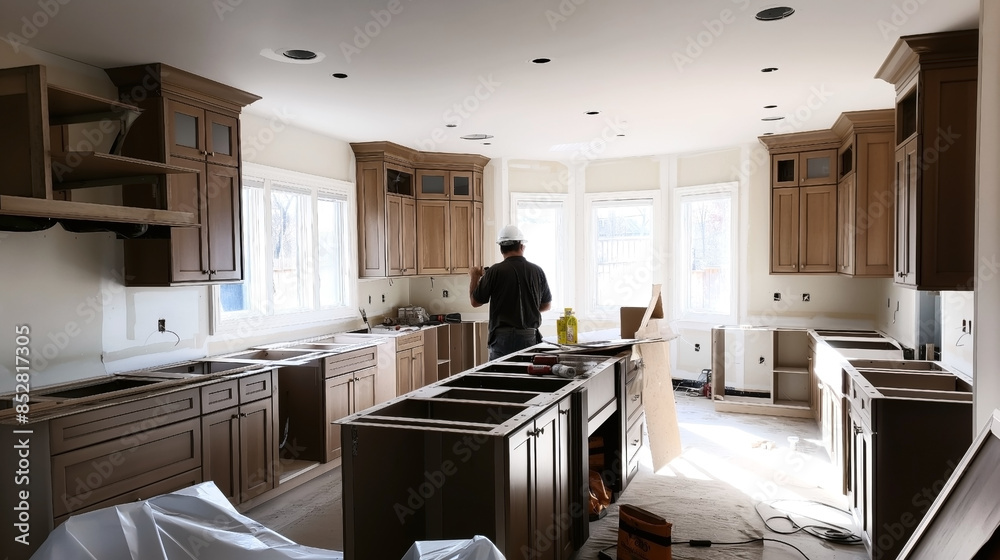
5. Cabinet Installation
Overview: Installing cabinets is a critical step that requires precision. Properly installed cabinets provide the foundation for countertops and storage.- Mark the Layout: Use a level and measuring tape to mark the layout of the cabinets on the walls.
- Install Upper Cabinets First: Start with the upper cabinets to avoid working over the lower cabinets.
- Secure Cabinets to Studs: Attach cabinets to wall studs using screws. Ensure they are level and plumb.
- Install Base Cabinets: Follow the same process for base cabinets, ensuring they are level and properly aligned.
- Adjust as Needed: Make any necessary adjustments to doors and drawers for proper alignment and operation.
6. Countertop Installation
Overview: Countertops add functionality and style to your kitchen. The installation process varies depending on the material chosen.- Measure and Cut: Measure the space accurately and cut the countertops to fit. This step is often done by professionals, especially for materials like granite and quartz.
- Dry Fit: Place the countertops on the cabinets to ensure a proper fit.
- Secure in Place: Secure the countertops to the cabinets using adhesive or screws as recommended by the manufacturer.
- Seal Edges: Seal any gaps between the countertop and walls to prevent moisture infiltration.
7. Sink and Faucet Installation
Overview: Installing the sink and faucet involves connecting plumbing and ensuring a watertight seal.- Install the Sink: Place the sink in the countertop cutout and secure it according to the manufacturer’s instructions.
- Attach the Faucet: Install the faucet and any additional fixtures, such as soap dispensers or sprayers.
- Connect Plumbing: Connect the sink drain and faucet to the plumbing. Check for leaks and ensure everything is properly sealed.
8. Appliance Installation
Overview: Installing appliances involves positioning them correctly and connecting to necessary utilities.- Place Appliances: Position appliances such as the refrigerator, stove, dishwasher, and microwave in their designated spots.
- Connect Utilities: Connect appliances to water, gas, and electricity as needed. Ensure all connections are secure and up to code.
- Test Appliances: Test each appliance to ensure it is functioning correctly.
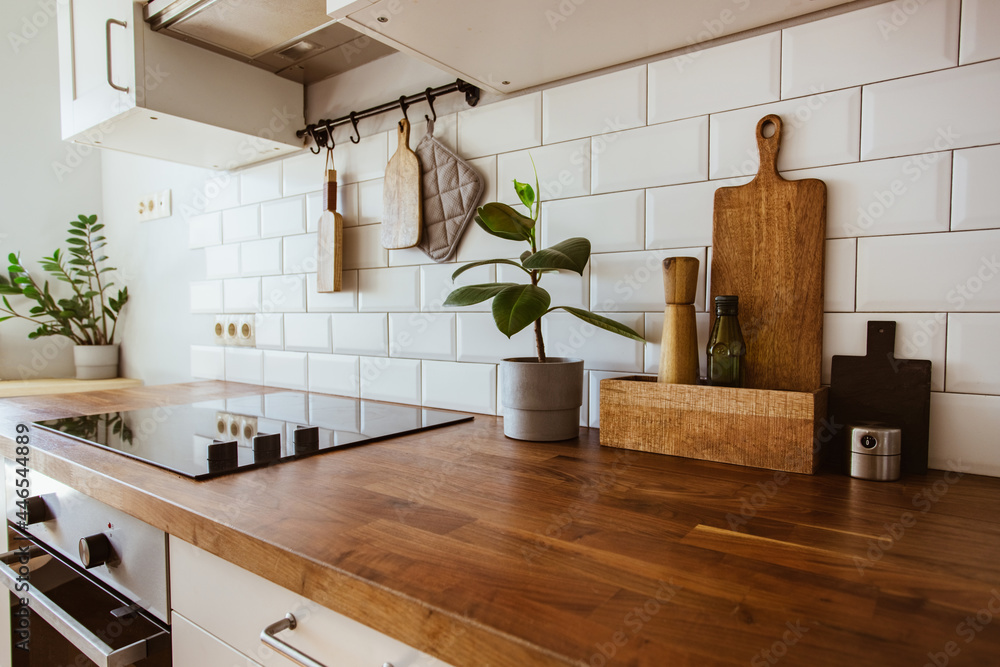
9. Backsplash Installation
Overview: A backsplash adds a decorative element and protects walls from splashes and spills. Choose a material that complements your overall kitchen design.- Prepare the Wall: Clean and smooth the wall surface where the backsplash will be installed.
- Apply Adhesive: Apply adhesive to the wall using a trowel.
- Install Tiles: Press tiles into the adhesive, using spacers to ensure even gaps. Follow the manufacturer’s instructions for layout and pattern.
- Grout Tiles: Once the adhesive has set, apply grout between the tiles and wipe away excess.
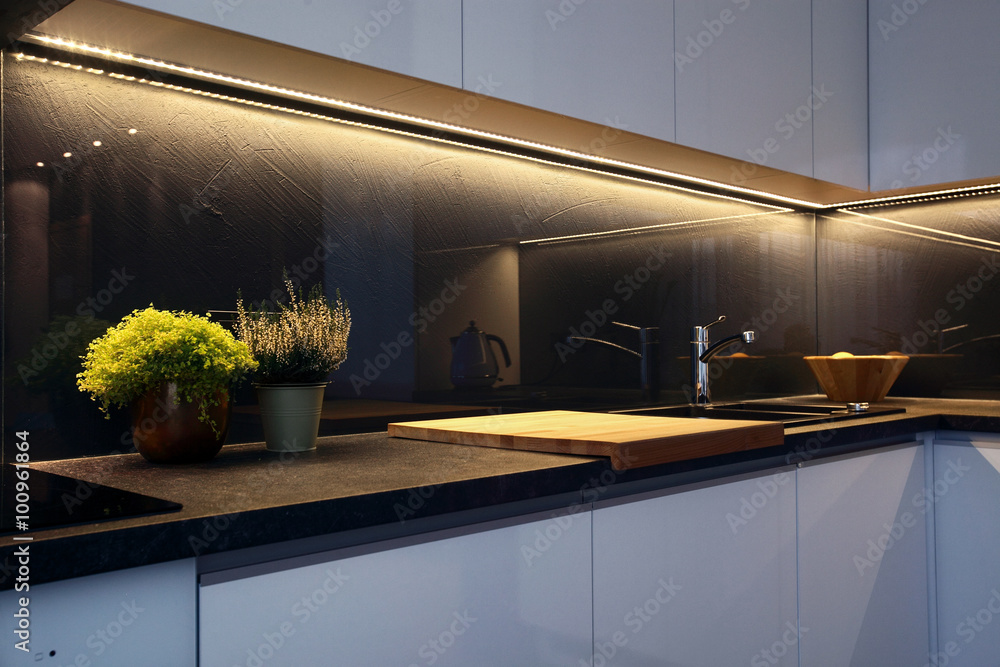
10. Lighting and Electrical Fixtures
Overview: Proper lighting enhances both functionality and ambiance in your kitchen. Install a combination of ambient, task, and accent lighting.- Install Overhead Lighting: Install ceiling fixtures or recessed lights for general illumination.
- Add Task Lighting: Install under-cabinet lights, pendant lights, or strip lights to illuminate work areas.
- Accent Lighting: Add accent lighting to highlight architectural features or decorative elements.
- Install Switches and Outlets: Ensure all electrical fixtures are properly connected and functioning.
10. Final Touches and Clean-Up
Overview: The final step involves adding finishing touches and cleaning up the space. This step ensures your kitchen is ready for use and looks polished.- Install Hardware: Attach handles, knobs, and pulls to cabinets and drawers.
- Touch-Up Paint: Touch up any areas that need paint or finish adjustments.
- Clean Thoroughly: Clean all surfaces, including cabinets, countertops, appliances, and floors. Remove any construction debris or dust.
- Inspect the Work: Conduct a final inspection to ensure everything is installed correctly and functions as intended.
Renovating your kitchen is a major project that requires careful planning, coordination, and execution. By following these step-by-step instructions, you can ensure a smooth and successful kitchen installation. Whether you’re doing the work yourself or hiring professionals, understanding each step of the process will help you achieve a beautiful and functional kitchen that meets your needs and enhances your home.