A leaky roof can cause significant damage to your home if left untreated. Water can seep into the structure, leading to mold growth, rot, and damage to your ceilings and walls. Fortunately, patching small leaks in your roof is a manageable DIY project that can save you money and prevent further damage. This comprehensive guide will walk you through the steps to identify and repair small roof leaks effectively.
Identifying Roof Leaks
Before you can repair a leak, you need to locate its source. Here are some tips for identifying roof leaks:
- Inspect the Attic: During or after a rainstorm, go into your attic with a flashlight. Look for water stains, damp insulation, or puddles. Follow the water trail to find the leak’s source.
- Examine the Roof: Check your roof for damaged, missing, or curled shingles. Pay attention to areas around chimneys, vents, and skylights, as these are common leak points.
- Check Flashing: Flashing is the metal or plastic sheeting that seals roof joints and edges. Inspect it for cracks, rust, or gaps.
- Look for Punctures: Tree branches, hail, and other debris can puncture your roof. Look for visible holes or tears in the roofing material.
Tools and Materials Needed
To repair small roof leaks, you’ll need the following tools and materials:
- Ladder
- Safety harness
- Roofing nails or screws
- Hammer or drill
- Pry bar
- Roofing cement
- Roofing tape
- Replacement shingles or roofing material
- Utility knife
- Caulking gun
- Roof patch kit (for larger holes)
- Tar paper or roofing felt
- Flashing (if necessary)
- Gloves and safety glasses
Join HICP Homeowner’s Alliance
Connect with experts, get special discounts and enjoy member benefits
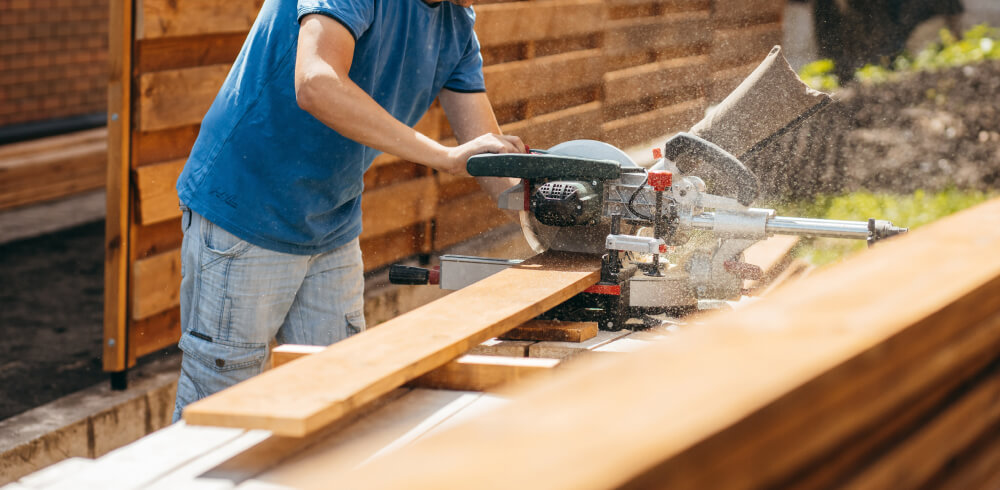
Step-by-Step Guide to Patching Small Roof Leaks
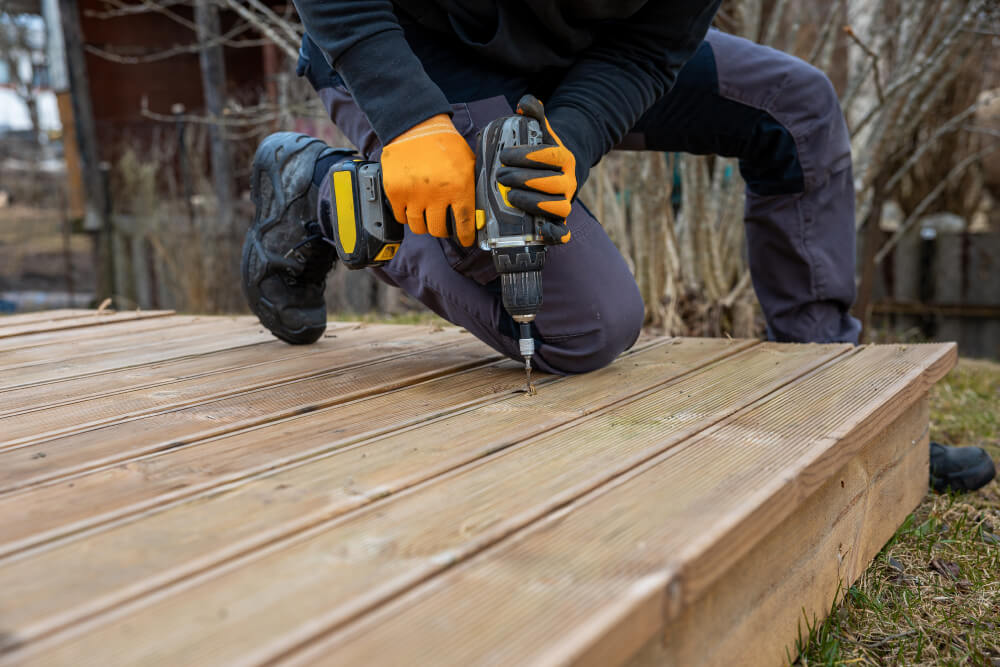
Step 1: Ensure Safety First- Choose the Right Weather: Work on a dry, calm day. Avoid working on the roof during rain, snow, or strong winds.
- Use a Sturdy Ladder: Ensure your ladder is stable and placed on a flat surface. Secure it to the roof if possible.
- Wear Safety Gear: Use a safety harness, non-slip shoes, gloves, and safety glasses to protect yourself.
- Work with a Partner: Having someone to assist you can enhance safety and efficiency.
- Loosen the Shingles: Use a pry bar to lift the edges of the damaged shingles and any overlapping shingles above them. Be gentle to avoid damaging surrounding shingles.
- Remove the Nails: Pull out the nails holding the damaged shingles in place. Slide the damaged shingles out carefully.
- Prepare the Area: Remove any debris or old roofing cement from the exposed area. Clean the surface to ensure a smooth repair.
- Cut Replacement Shingles: Use a utility knife to cut new shingles to match the size and shape of the damaged ones.
- Apply Roofing Cement: Spread a layer of roofing cement over the exposed area where the new shingles will be placed.
- Install New Shingles: Slide the new shingles into place, aligning them with the surrounding shingles. Press them firmly into the roofing cement.
- Secure with Nails: Use roofing nails to secure the new shingles. Place nails along the top edge of the shingle, covered by the overlapping shingles above. Apply additional roofing cement over the nail heads to seal them.
Step 4: Repair Flashing and Small Holes
- Inspect and Replace Flashing: If the leak is near flashing, check for damage or gaps. Remove the old flashing and install new flashing as needed. Use roofing nails to secure it and apply roofing cement along the edges to seal it.
- Patch Small Holes: For small holes or punctures, use a roof patch kit. Clean the area around the hole and apply the patch according to the manufacturer’s instructions. Typically, this involves spreading roofing cement around the hole, placing the patch over it, and sealing the edges with more roofing cement.
- Check Seals: Inspect the seals around roof vents, chimneys, and skylights. Look for cracks, gaps, or deteriorated caulking.
- Apply Roofing Tape: For minor cracks or gaps, apply roofing tape over the affected area. Press it down firmly to ensure a good seal.
- Use Caulk: For larger gaps or deteriorated caulking, remove the old caulk and apply a fresh bead of roofing caulk around the edges of vents, chimneys, and skylights. Smooth it out with a caulking tool or your finger.
Tips for Successful Roof Repairs
- Regular Maintenance: Regularly inspect your roof for damage, especially after storms. Promptly address any issues to prevent leaks.
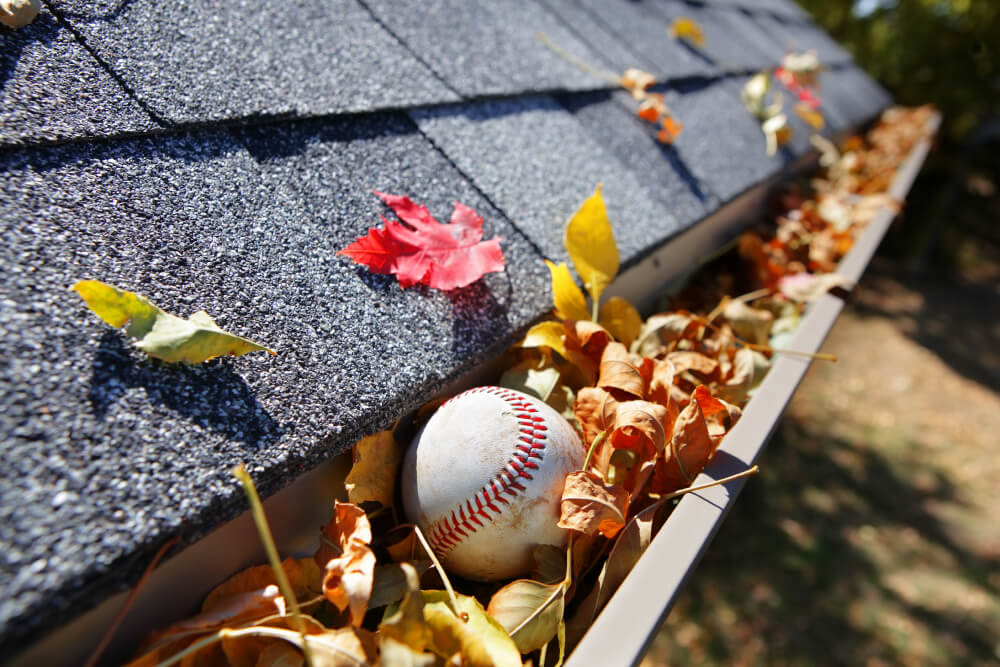
- Keep Gutters Clean: Clean gutters and downspouts regularly to prevent water from backing up and causing roof leaks.
- Trim Overhanging Branches: Trim tree branches that overhang your roof to prevent damage from falling limbs and reduce debris buildup.
- Use Quality Materials: Invest in high-quality roofing materials for repairs to ensure durability and longevity.
When to Seek Professional Help
While small roof repairs are manageable for many homeowners, there are times when professional help is necessary:
- Extensive Damage: If your roof has extensive damage or multiple leaks, a professional roofer can assess the situation and recommend comprehensive repairs.
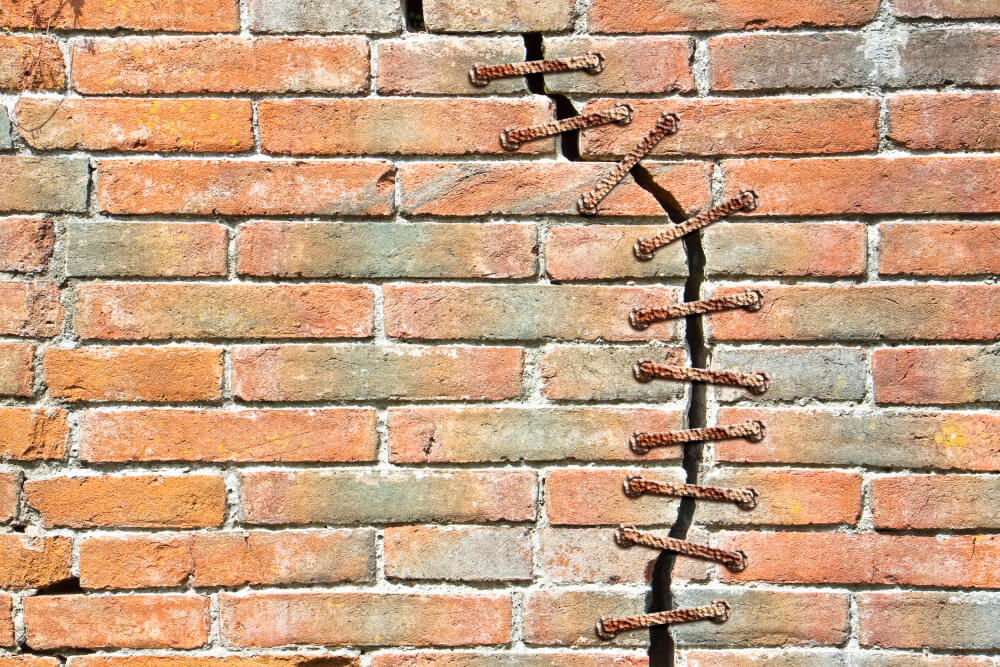
- Structural Issues: If you notice sagging or structural damage, it’s essential to have a professional inspect and repair it to ensure the safety of your home.
- Lack of Experience: If you’re uncomfortable working on a roof or lack the necessary experience, hiring a professional can prevent accidents and ensure the job is done correctly.
By following this step-by-step guide, you can effectively patch small roof leaks and protect your home from water damage. Regular roof maintenance and prompt repairs will help extend the life of your roof and maintain the integrity of your home. Happy repairing!