Understanding Drywall Damage
Before diving into the repair process, it’s essential to understand the types of damage that can occur in drywall:
- Small Holes: These are typically caused by nails, screws, or minor impacts and are usually less than an inch in diameter.
- Large Holes: Larger holes can result from accidents, such as a doorknob hitting the wall or moving furniture. These holes are typically more than an inch in diameter.
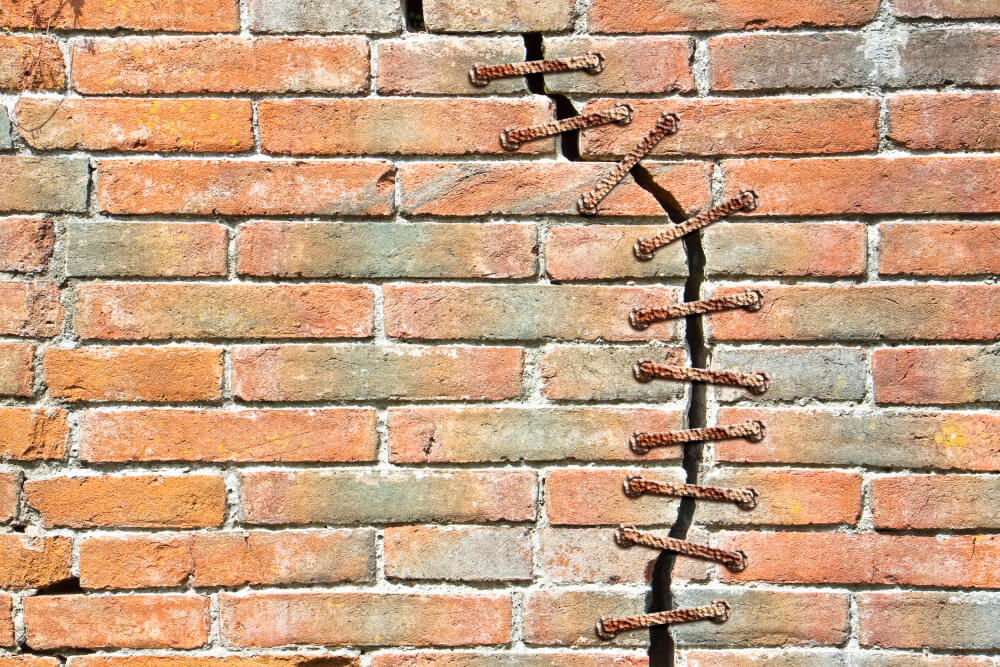
- Cracks: Cracks can form due to the settling of the house, temperature fluctuations, or structural issues. They can vary in length and width.
Tools and Materials Needed
To repair drywall holes and cracks, you’ll need the following tools and materials:
- Drywall patch kit (for small holes)
- Drywall saw or utility knife
- Drywall tape (mesh or paper)
- Joint compound (spackle or drywall mud)
- Putty knife (various sizes)
- Sanding block or sandpaper (medium and fine grit)
- Paint (to match the wall color)
- Paintbrush or roller
- Primer (if needed)
- Dust mask and safety goggles
- Drop cloth or plastic sheeting
Join HICP Homeowner’s Alliance
Connect with experts, get special discounts and enjoy member benefits
Step-by-Step Guide to Repairing Drywall Holes and Cracks
Step 1: Prepare the Area- Clear the Area: Remove any furniture, decorations, or obstructions around the damaged area. Lay down a drop cloth or plastic sheeting to protect the floor.
- Wear Protective Gear: Put on a dust mask and safety goggles to protect yourself from dust and debris.
- Clean the Hole: Use a utility knife to remove any loose or damaged drywall around the hole. This ensures a clean surface for the patch.
- Apply the Patch: For small holes (less than 1 inch), use a drywall patch kit. Peel off the backing from the adhesive patch and place it over the hole.
- Apply Joint Compound: Use a putty knife to spread a thin layer of joint compound over the patch, feathering the edges to blend with the surrounding wall. Allow it to dry according to the manufacturer’s instructions.
- Sand and Repeat: Once dry, sand the area with fine-grit sandpaper until smooth. Apply a second coat of joint compound if needed, then sand again.
- Cut Out the Damaged Area: Use a drywall saw or utility knife to cut out the damaged section of drywall. Cut a rectangular or square hole around the damage to make it easier to patch.
- Cut the Patch: Cut a piece of drywall to fit the hole you created. The patch should be slightly smaller than the hole to allow for joint compound and tape.
- Attach the Patch: Place the drywall patch into the hole and secure it with drywall screws. Ensure the screws are slightly recessed into the drywall.
- Apply Drywall Tape: Place drywall tape (mesh or paper) over the seams where the patch meets the existing wall. Press the tape firmly to ensure it adheres.
- Apply Joint Compound: Use a putty knife to spread a layer of joint compound over the tape and patch, feathering the edges. Allow it to dry, then sand smooth.
- Apply Additional Coats: Apply additional coats of joint compound as needed, sanding between each coat until the surface is smooth and blends with the surrounding wall.
- Widen the Crack: Use a utility knife to widen the crack slightly, creating a V-shaped groove. This helps the joint compound adhere better.
- Apply Drywall Tape: Place drywall tape over the crack. For wider cracks, use mesh tape for added strength.
- Apply Joint Compound: Spread a thin layer of joint compound over the tape, feathering the edges. Allow it to dry, then sand smooth.
- Apply Additional Coats: Apply additional coats of joint compound as needed, sanding between each coat until the crack is no longer visible.
- Prime the Repaired Area: If the repaired area is large or if you’re painting over a darker color, apply a coat of primer to ensure the paint adheres properly and covers evenly.
- Paint: Once the primer is dry, paint the repaired area to match the rest of the wall. Use a paintbrush or roller to blend the edges seamlessly.
Tips for a Successful Repair
- Use Quality Materials: Invest in good-quality joint compound, tape, and tools for a better finish.
- Work in Thin Layers: Apply joint compound in thin layers, allowing each layer to dry completely before adding the next. This helps prevent cracking and ensures a smooth finish.
- Sand Carefully: Sand the repaired area gently to avoid creating depressions or uneven surfaces.
- Match the Paint: Use leftover paint from the original job or take a sample to the store to get an exact match.
When to Seek Professional Help
While repairing small holes and cracks in drywall is a manageable DIY project for most homeowners, there are times when professional help is necessary:
- Extensive Damage: If you have large areas of damage or multiple holes and cracks, a professional can ensure a seamless repair.
- Structural Issues: If the cracks are due to structural problems, such as foundation settling or water damage, consult a professional to address the underlying issue before repairing the drywall.
- Limited Tools or Experience: If you lack the necessary tools or experience, hiring a professional can save time and ensure a high-quality result.
By following this comprehensive guide, you can successfully repair drywall holes and cracks, restoring the beauty and integrity of your walls. Proper repair techniques ensure a smooth, professional finish that blends seamlessly with the surrounding surface. Enjoy the satisfaction of a job well done and the benefits of a pristine, damage-free wall. Happy repairing!


