Why Sealing Gaps and Cracks is Important
Before diving into the sealing process, let’s explore why it’s essential to address gaps and cracks in your home:
- Energy Savings: Sealing gaps and cracks reduces air leakage, helping your heating and cooling systems work more efficiently and lowering energy bills.
- Improved Comfort: By preventing drafts, sealing gaps and cracks can create a more comfortable living environment.
- Moisture Control: Sealing prevents moisture from entering your home, reducing the risk of mold and mildew growth.
- Pest Prevention: Sealing small openings can prevent insects and rodents from entering your home.
- Environmental Impact: Reducing energy consumption lowers your carbon footprint, contributing to environmental conservation.
Tools and Materials Needed
To effectively seal gaps and cracks, you’ll need the following tools and materials:
- Caulking gun
- Caulk (latex or silicone, depending on the location)
- Expanding foam sealant
- Weatherstripping
- Backer rod (for larger gaps)
- Utility knife
- Putty knife
- Caulk smoothing tool
- Ladder (for hard-to-reach areas)
- Safety glasses and gloves
- Vacuum or brush (for cleaning surfaces)
Join HICP Homeowner’s Alliance
Connect with experts, get special discounts and enjoy member benefits
Step-by-Step Guide to Sealing Gaps and Cracks
Step 1: Identify Problem Areas
- Conduct a Visual Inspection: Walk around your home, both inside and outside, to identify visible gaps and cracks. Pay close attention to windows, doors, baseboards, and exterior walls.
- Use a Smoke Pencil or Incense Stick: On a windy day, use a smoke pencil or an incense stick to detect air leaks. Hold the smoke near potential problem areas and watch for any movement indicating a draft.
- Check Utility Penetrations: Inspect areas where utilities enter your home, such as pipes, cables, and electrical wiring, for gaps and cracks.
- Inspect the Attic and Basement: These areas are often overlooked but can be significant sources of air leaks. Check for gaps around vents, chimneys, and ductwork.
Step 2: Choose the Right Sealant
- Caulk: Use latex or silicone caulk for sealing small gaps and cracks. Latex caulk is easy to apply and paintable, making it ideal for interior use. Silicone caulk is more flexible and waterproof, making it suitable for exterior use and areas exposed to moisture.
- Expanding Foam Sealant: For larger gaps and cracks, use expanding foam sealant. It expands to fill the space and provides excellent insulation.
- Weatherstripping: Apply weatherstripping to doors and windows to create a tight seal and prevent drafts.
- Backer Rod: For deep or wide gaps, use a backer rod to fill the space before applying caulk or foam. This helps ensure a secure and effective seal.
Step 3: Prepare the Area
- Clean the Surface: Use a vacuum or brush to remove dust, dirt, and debris from the area you’ll be sealing. A clean surface ensures better adhesion.
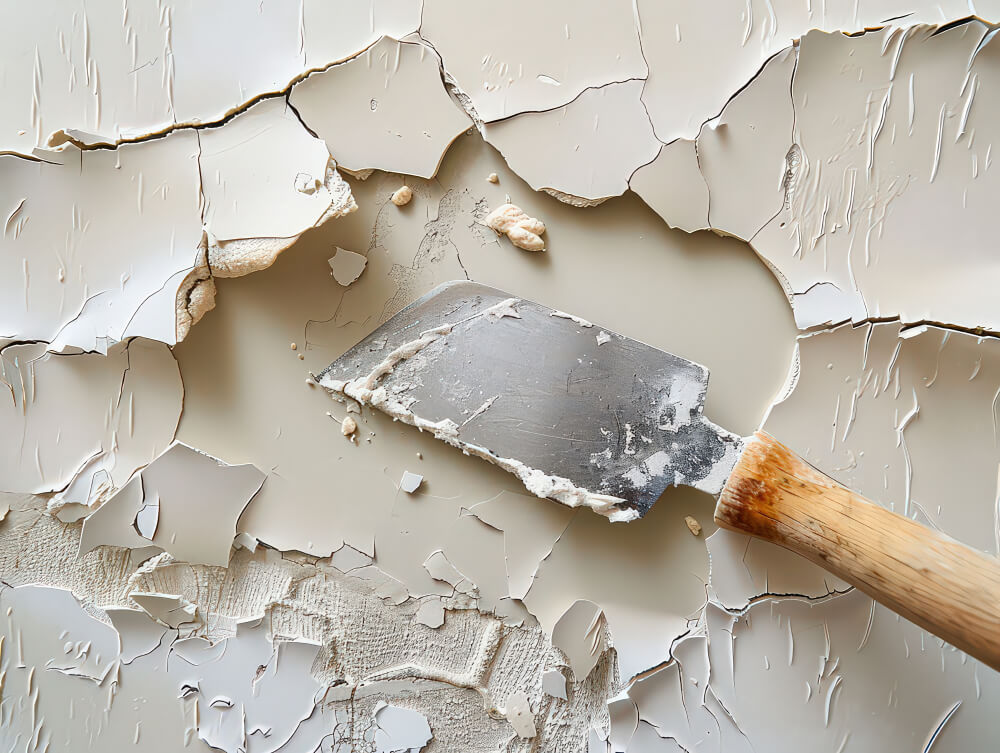
- Cut Away Old Sealant: If there’s old, deteriorating sealant, use a utility knife or putty knife to remove it. Clean the area thoroughly before applying new sealant.
- Dry the Area: Ensure the area is dry before applying any sealant, as moisture can prevent proper adhesion.
Step 4: Apply Caulk
- Load the Caulking Gun: Insert the caulk tube into the caulking gun and cut the tip at a 45-degree angle. The size of the opening should match the width of the gap you’re sealing.
- Apply the Caulk: Hold the gun at a consistent angle and apply a steady, even bead of caulk along the gap. Use a smooth, continuous motion to ensure an even application.
- Smooth the Caulk: Use a caulk smoothing tool or your finger (dipped in water) to smooth the caulk bead and ensure it adheres well to both sides of the gap.
- Clean Up: Wipe away any excess caulk with a damp cloth before it dries. Allow the caulk to dry completely according to the manufacturer’s instructions.
Step 5: Apply Expanding Foam Sealant
- Prepare the Foam Sealant: Shake the can of foam sealant thoroughly before use. Attach the nozzle and cut it to the desired size.
- Apply the Foam: Insert the nozzle into the gap and apply the foam sealant. It will expand to fill the space, so use it sparingly.
- Trim Excess Foam: Once the foam has cured, use a utility knife to trim any excess foam, ensuring a clean and neat finish.
Step 6: Install Weatherstripping
- Measure and Cut: Measure the length of the door or window frame and cut the weatherstripping to fit.
- Apply the Weatherstripping: Peel off the adhesive backing and press the weatherstripping firmly into place along the frame. Ensure a tight fit to prevent air leaks.
Step 7: Inspect and Maintain
- Regular Inspections: Conduct regular inspections of your home’s seals, especially before and after extreme weather conditions.
- Reapply as Needed: Over time, sealants can deteriorate and may need to be reapplied. Check for signs of wear and replace any damaged sealant promptly.
Tips for Effective Sealing
- Choose the Right Sealant: Select the appropriate sealant for the job, considering factors such as location, material, and exposure to elements.
- Work in Sections: Break down the task into manageable sections to ensure thorough coverage and attention to detail.
- Follow Manufacturer’s Instructions: Always follow the manufacturer’s instructions for applying and curing sealants to ensure the best results.
- Protect Yourself: Wear safety glasses and gloves to protect yourself from sealant fumes and contact with skin.
- Test for Air Leaks: After sealing, use a smoke pencil or incense stick to test for any remaining air leaks and address them promptly.
When to Seek Professional Help
While sealing gaps and cracks is a manageable DIY project for most homeowners, there are times when professional help is necessary:
- Extensive Damage: If your home has extensive gaps and cracks or structural damage, a professional can assess and address the underlying issues.
- Hard-to-Reach Areas: If the areas needing sealing are difficult to access, such as high ceilings or behind appliances, a professional can ensure thorough and safe sealing.
- Limited Tools or Experience: If you lack the necessary tools or experience, hiring a professional can save time and ensure a high-quality result.
By following this comprehensive guide, you can effectively seal gaps and cracks in your home, enhancing energy efficiency, comfort, and protection. Regular maintenance and timely repairs will help keep your home in top condition, reduce energy costs, and contribute to a healthier living environment. Enjoy the benefits of a well-sealed home and the satisfaction of a job well done. Happy sealing!


