Benefits of New Window Treatments
Before diving into the installation process, let’s discuss the benefits of adding new window treatments:
- Enhanced Aesthetics: Window treatments can transform the look of a room, adding color, texture, and style.
- Improved Privacy: They provide privacy by preventing outsiders from looking into your home.
- Light Control: Window treatments allow you to control the amount of natural light entering a room, reducing glare and protecting your furniture from sun damage.
- Energy Efficiency: Certain window treatments can help insulate your home, keeping it cooler in the summer and warmer in the winter, thereby reducing energy costs.
- Noise Reduction: They can also help reduce outside noise, creating a quieter indoor environment.
Tools and Materials Needed
To install new window treatments, you’ll need the following tools and materials:
- Tape measure
- Pencil
- Level
- Drill and drill bits
- Screwdriver
- Step ladder
- Stud finder
- Wall anchors (if necessary)
- Mounting brackets (included with your window treatment)
- Screws (included with your window treatment)
- Curtain rod or blinds
- Curtains, shades, or blinds
Join HICP Homeowner’s Alliance
Connect with experts, get special discounts and enjoy member benefits
Step-by-Step Guide to Installing Window Treatments
Step 1: Choose Your Window TreatmentsSelect the type of window treatments that best suit your needs and style. Here are some common options:
- Curtains and Drapes: Fabric panels that hang from a rod. They come in various lengths, fabrics, and patterns.
- Blinds: Made of horizontal or vertical slats that can be tilted to control light and privacy. Common materials include wood, faux wood, aluminum, and vinyl.
- Shades: Fabric or synthetic panels that can be raised or lowered. Types include roller shades, Roman shades, and cellular shades.
- Shutters: Solid panels or louvers that can be opened or closed. They are typically made of wood or composite materials.
Accurate measurements are crucial for a proper fit. Follow these steps to measure your windows:
- Width: Measure the width of the window frame from one side to the other. For an inside mount (within the window frame), measure the width at the top, middle, and bottom, and use the narrowest measurement. For an outside mount (on the wall or trim), add a few inches on each side for better coverage.
- Height: Measure the height from the top of the window frame to the windowsill. For an inside mount, measure the height at the left, middle, and right, and use the longest measurement. For an outside mount, measure from where you want the top of the treatment to where you want the bottom.
Ensure you have all the necessary tools and materials before starting the installation process. This will make the job easier and more efficient.
Step 4: Install Mounting Brackets- Mark the Bracket Locations: Use a pencil and a level to mark the placement of the mounting brackets. For inside mounts, mark the top corners inside the window frame. For outside mounts, mark the desired height and width on the wall or trim.
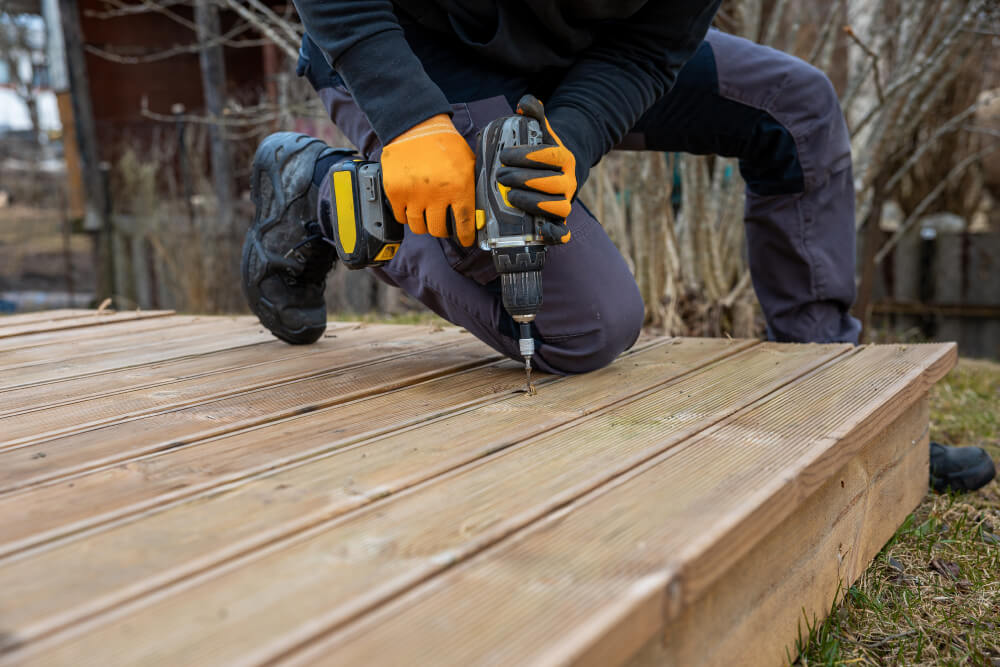
- Drill Pilot Holes: Use a drill to make pilot holes for the screws at the marked locations. If you don’t hit a stud, use wall anchors to ensure a secure hold.
- Attach the Brackets: Secure the mounting brackets to the wall or window frame using the provided screws and a screwdriver. Ensure the brackets are level and securely fastened.
For Curtains and Drapes:
- Assemble the Curtain Rod: If your curtain rod comes in multiple pieces, assemble it according to the manufacturer’s instructions.
- Thread the Curtains: Slide the curtain panels onto the rod. If using curtain rings or hooks, attach them to the curtains first.
- Place the Rod: Lift the rod and place it into the mounting brackets. Secure the rod in place with any provided screws or fasteners.
For Blinds:
- Install the Headrail: Position the headrail (the top part of the blinds) into the mounting brackets. Snap it into place or secure it with screws, depending on the design.
- Attach the Valance: If your blinds come with a decorative valance, attach it to the headrail using the provided clips or hooks.
- Test the Operation: Lower and raise the blinds to ensure they operate smoothly. Adjust the tilt mechanism to check for proper light control.
For Shades:
- Install the Headrail: Position the headrail of the shades into the mounting brackets. Snap it into place or secure it with screws, depending on the design.
- Attach the Shade: If the shade has a valance or decorative cover, attach it to the headrail using the provided clips or hooks.
- Test the Operation: Lower and raise the shades to ensure they operate smoothly. Make any necessary adjustments to the tension or alignment.
For Shutters:
- Assemble the Shutters: If your shutters come in multiple pieces, assemble them according to the manufacturer’s instructions.
- Mount the Frame: Attach the shutter frame to the window opening using the provided screws. Ensure the frame is level and plumb.
- Attach the Panels: Secure the shutter panels to the frame using the provided hinges and screws. Check that the panels open and close smoothly.
Tips for a Successful Installation
- Double-Check Measurements: Accurate measurements are crucial for a proper fit. Double-check your measurements before cutting or drilling.
- Use a Level: Always use a level to ensure your brackets and window treatments are straight.
- Follow Manufacturer’s Instructions: Different window treatments have different installation requirements. Always follow the manufacturer’s instructions for best results.
- Work with a Partner: If possible, have someone assist you, especially when handling large or heavy window treatments.
When to Seek Professional Help
While installing window treatments is a manageable DIY project for many homeowners, there are times when you might want to seek professional help:
- Complex Installations: If you’re installing motorized blinds or shades, or custom shutters, a professional can ensure the job is done correctly.
- Unusual Window Shapes: For windows with unusual shapes or sizes, a professional can provide custom solutions and ensure a perfect fit.
- Limited Tools or Experience: If you lack the necessary tools or experience, hiring a professional can save time and ensure a high-quality result.
By following this comprehensive guide, you can successfully install new window treatments that enhance the beauty and functionality of your home. Whether you choose curtains, blinds, shades, or shutters, proper installation ensures a polished look and optimal performance. Enjoy your new window treatments and the benefits they bring to your living space. Happy installing!


