Benefits of a Brick Patio
Before diving into the construction process, let’s explore the benefits of adding a brick patio to your outdoor space:
- Durability: Brick is a strong and durable material that can withstand heavy use and various weather conditions.
- Aesthetic Appeal: A brick patio adds a classic, timeless look to your outdoor area, enhancing the overall landscape design.
- Low Maintenance: Brick patios are relatively easy to maintain and can be cleaned with simple household tools.
- Increased Home Value: A well-built brick patio can increase the value of your home and make it more attractive to potential buyers.
- Eco-Friendly: Brick is made from natural materials and can be recycled, making it an environmentally friendly choice.
Tools and Materials Needed
To build a brick patio, you’ll need the following tools and materials:
- Bricks
- Gravel
- Sand
- Edging materials (metal, plastic, or brick)
- Shovel
- Rake
- Wheelbarrow
- Garden hose
- Level
- Rubber mallet
- Tape measure
- String and stakes
- Plate compactor or hand tamper
- Broom
- Safety gear (gloves, safety glasses, knee pads)
Join HICP Homeowner’s Alliance
Connect with experts, get special discounts and enjoy member benefits
Step-by-Step Guide to Building a Brick Patio
Step 1: Plan and Design
- Choose the Location: Select a flat, level area in your yard for the patio. Consider factors such as sun exposure, proximity to the house, and the intended use of the space.
- Measure and Mark: Use a tape measure to determine the dimensions of your patio. Mark the perimeter with stakes and string, ensuring it is square and level.
- Design the Pattern: Decide on a brick pattern for your patio. Common patterns include running bond, basket weave, herringbone, and circular designs. Lay out a few bricks to visualize the pattern and ensure you have enough materials.
Step 2: Prepare the Site
- Excavate the Area: Use a shovel to dig out the marked area to a depth of about 8-10 inches. This will accommodate the base materials and the bricks. Remove any grass, roots, and debris.
- Level the Ground: Use a rake to level the ground and create a smooth, even surface. Check for level using a long board and a level.
Step 3: Install the Base
- Add Gravel: Spread a 4-6 inch layer of gravel over the excavated area. Use a plate compactor or hand tamper to compact the gravel, creating a solid foundation.
- Add Sand: Spread a 1-2 inch layer of sand over the compacted gravel. Use a rake to level the sand, and then use the plate compactor or hand tamper to compact it.
Step 4: Install Edging
- Choose Edging Material: Select edging material that matches your design and holds the bricks in place. Options include metal, plastic, or additional bricks.
- Install Edging: Place the edging along the perimeter of the patio, securing it with stakes if necessary. Ensure the edging is level and flush with the surrounding ground.
Step 5: Lay the Bricks
- Start Laying Bricks: Begin laying bricks at one corner of the patio, following your chosen pattern. Place each brick firmly into the sand base, ensuring they are level and tightly fitted together.
- Use a Rubber Mallet: Tap each brick gently with a rubber mallet to set it into place. Check for level frequently and adjust as needed.
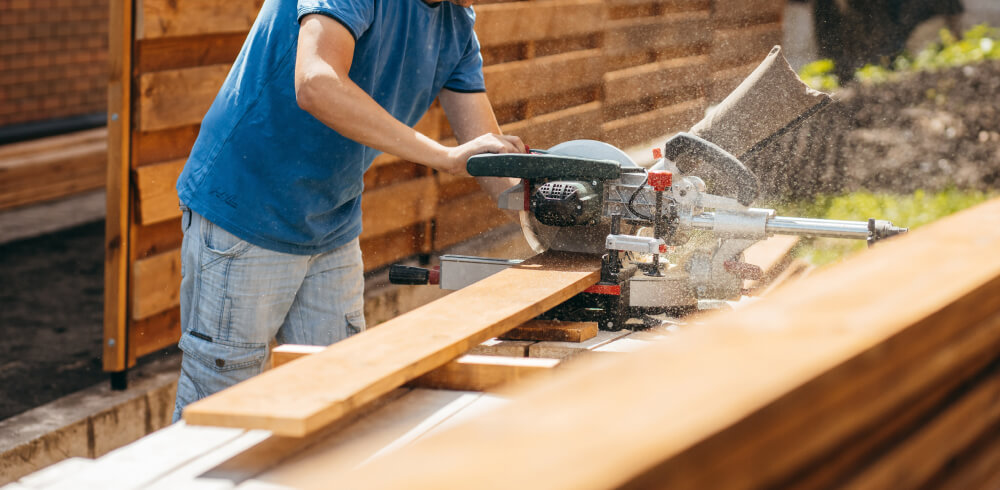
- Cut Bricks: If necessary, use a masonry saw or chisel and hammer to cut bricks to fit around edges or obstacles. Wear safety gear when cutting bricks.
Step 6: Fill the Gaps
- Add Sand: Once all the bricks are laid, spread a layer of sand over the surface of the patio. Use a broom to sweep the sand into the gaps between the bricks.
- Compact the Bricks: Use the plate compactor or hand tamper to compact the bricks and settle the sand into the gaps. Repeat the process of adding and sweeping sand until all gaps are filled and the bricks are secure.
Step 7: Finishing Touches
- Water the Patio: Use a garden hose to lightly water the patio, helping the sand settle into the gaps. Allow the patio to dry and add more sand if necessary.
- Clean Up: Remove any excess sand from the surface of the bricks with a broom. Ensure the area around the patio is clean and tidy.
Tips for a Successful Brick Patio
- Plan Ahead: Take time to plan your patio design and gather all necessary materials and tools before starting the project.
- Work in Sections: Lay bricks in small sections to ensure accuracy and maintain the pattern.
- Check for Level: Regularly check that the bricks are level and adjust as needed to prevent uneven surfaces.
- Use Quality Materials: Invest in high-quality bricks and base materials for a durable, long-lasting patio.
- Protect Yourself: Wear safety gear, such as gloves, safety glasses, and knee pads, to protect yourself while working.
When to Seek Professional Help
While building a brick patio is a manageable DIY project for many homeowners, there are times when professional help is necessary:
- Large Projects: If you are planning a large patio or complex design, a professional can ensure accurate measurements and a high-quality finish.
- Drainage Issues: If your yard has drainage problems, a professional can assess the situation and design a patio that addresses these issues.
- Limited Tools or Experience: If you lack the necessary tools or experience, hiring a professional can save time and ensure a durable, professional-looking result.
By following this comprehensive guide, you can successfully build a beautiful and functional brick patio, enhancing your outdoor space and creating a welcoming area for relaxation and entertainment. Proper planning, quality materials, and attention to detail ensure a long-lasting, professional finish. Enjoy the satisfaction of a job well done and the benefits of your new brick patio. Happy building!


