Concrete countertops are a popular choice for modern kitchens due to their durability, versatility, and unique aesthetic appeal. With a little effort and the right tools, you can create custom concrete countertops that elevate the look and functionality of your kitchen. This comprehensive guide will walk you through the step-by-step process of creating and installing your own concrete countertops, ensuring a professional and durable finish.
Benefits of Concrete Countertops
Before diving into the DIY process, let’s explore the benefits of choosing concrete for your kitchen countertops:
- Durability: Concrete countertops are incredibly strong and resistant to scratches, heat, and stains when properly sealed.
- Customization: You can customize the shape, size, color, and finish of concrete countertops to match your kitchen’s design.
- Unique Aesthetic: Each concrete countertop is unique, with natural variations and textures that add character to your kitchen.
- Eco-Friendly: Concrete is a sustainable material, especially when made with recycled aggregates and low-carbon cement.
- Cost-Effective: DIY concrete countertops can be more affordable than other premium countertop materials like granite or quartz.
Tools and Materials Needed
To create and install concrete countertops, you’ll need the following tools and materials:
- Concrete mix (specifically designed for countertops)
- Water
- Concrete pigment (optional for coloring)
- Melamine boards (for building the mold)
- Screws and screwdriver
- Caulk and caulking gun
- Sandpaper or sanding blocks
- Concrete sealer
- Release agent (for the mold)
- Rebar or wire mesh (for reinforcement)
- Mixing tools (bucket, drill with mixing attachment)
- Trowel
- Putty knife
- Level
- Measuring tape
- Safety gear (gloves, safety glasses, mask)
Join HICP Homeowner’s Alliance
Connect with experts, get special discounts and enjoy member benefits
Step-by-Step Guide to DIY Concrete Countertops
Step 1: Design and Plan- Measure Your Space: Measure the dimensions of your existing countertops or the area where the new countertops will be installed. Take precise measurements to ensure a proper fit.
- Create a Template: Use cardboard or foam board to create a template of your countertop layout, including cutouts for sinks and appliances.
- Choose a Design: Decide on the thickness, edge style, and any color or finish options for your countertops.
- Cut Melamine Boards: Cut melamine boards to the dimensions of your countertop design. Melamine is ideal for molds because it has a smooth surface that prevents the concrete from sticking.
- Assemble the Mold: Assemble the mold using screws to secure the sides to the base. Ensure all corners are square and joints are tight.
- Seal the Edges: Apply a bead of caulk along the inside edges of the mold to create a smooth, rounded edge on your countertops. Smooth the caulk with your finger or a caulking tool.
- Apply Release Agent: Apply a release agent to the inside of the mold to prevent the concrete from sticking to the melamine.
- Cut Rebar or Wire Mesh: Cut rebar or wire mesh to fit inside the mold, leaving a 1-inch gap from the edges. This reinforcement will add strength to your countertops.
- Position Reinforcement: Place the reinforcement in the mold, ensuring it is centered and elevated slightly off the bottom using small pieces of wood or plastic spacers.
- Mix the Concrete: Follow the manufacturer’s instructions to mix the concrete in a bucket or mixing tub. If using a pigment, add it to the mix according to the desired color.
- Pour the Concrete: Pour the concrete into the mold, filling it halfway. Use a trowel to spread the concrete evenly and eliminate air pockets.
- Place Reinforcement: Place the rebar or wire mesh reinforcement into the concrete, ensuring it is centered and fully submerged.
- Fill the Mold: Continue pouring the concrete until the mold is full. Use the trowel to level the surface and smooth out any rough spots.
- Vibrate the Mold: Gently tap the sides of the mold with a rubber mallet to release any trapped air bubbles. You can also use a vibrating table if available.
- Cover and Cure: Cover the mold with plastic sheeting to retain moisture and allow the concrete to cure. The curing process typically takes 48-72 hours, but follow the manufacturer’s recommendations for optimal results.
- Monitor the Temperature: Keep the curing concrete at a stable temperature, ideally between 50°F and 75°F, to ensure proper curing.
- Remove Screws: Carefully remove the screws from the mold and gently disassemble the sides.
- Lift the Countertop: With assistance, carefully lift the countertop out of the mold. Place it on a flat surface with adequate support to avoid cracking.
Step 7: Sand and Finish
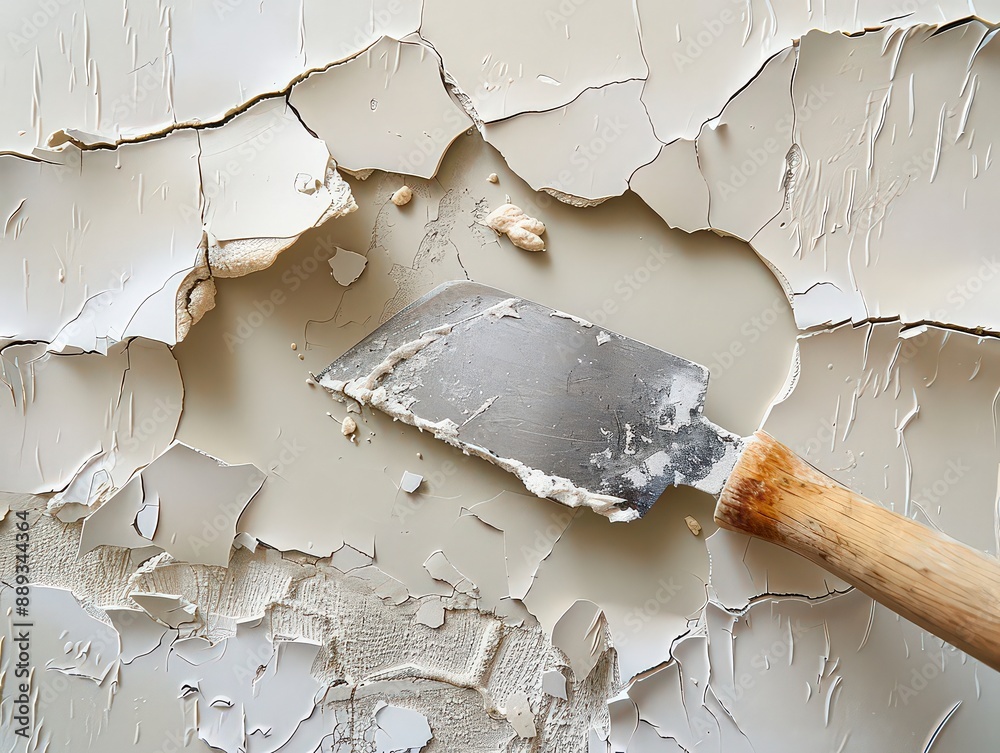
- Sand the Surface: Use sandpaper or sanding blocks to smooth the surface of the countertop. Start with coarse grit (60-80) and progress to finer grits (120-220) for a smooth finish.
- Fill Imperfections: If there are any small holes or imperfections, fill them with a concrete patching compound and sand smooth once dry.
- Apply Sealer: Apply a concrete sealer to protect the surface and enhance its appearance. Follow the manufacturer’s instructions for application and drying times.
- Prepare the Base Cabinets: Ensure the base cabinets are level and securely fastened to the wall.
- Apply Adhesive: Apply a bead of construction adhesive to the top edges of the base cabinets.
- Place the Countertop: With assistance, carefully place the countertop onto the cabinets. Press down firmly to ensure a good bond with the adhesive.
- Seal the Edges: Apply a bead of silicone caulk around the edges where the countertop meets the wall or backsplash to create a watertight seal.
Tips for a Professional Finish
- Work in a Clean Environment: Ensure your workspace is clean and free of dust to avoid contaminating the concrete mix.
- Use Quality Materials: Invest in high-quality concrete mix and pigments for the best results.
- Be Patient: Allow adequate time for each step, especially curing and drying, to ensure a durable and high-quality finish.
- Practice Safety: Wear protective gear, such as gloves, safety glasses, and a mask, when working with concrete and chemicals.
- Seek Assistance: Concrete countertops can be heavy and difficult to maneuver. Enlist the help of friends or family to assist with lifting and positioning.
When to Seek Professional Help
- Complex Designs: If your countertop design includes intricate shapes, embedded objects, or custom features, a professional can ensure precise execution.
- Limited Tools or Experience: If you lack the necessary tools or experience, hiring a professional can save time and ensure a high-quality result.
- Large Projects: For large kitchens or multiple countertops, a professional can work more efficiently and ensure consistent quality.
By following this comprehensive guide, you can successfully create and install beautiful concrete countertops that enhance your kitchen’s functionality and aesthetic appeal. Proper planning, quality materials, and attention to detail ensure a professional and long-lasting finish. Enjoy the satisfaction of a job well done and the compliments from your guests. Happy crafting!