Building a deck is a rewarding project that can add value to your home and provide an enjoyable outdoor space for relaxation and entertainment. Whether you’re a seasoned DIY enthusiast or a beginner, constructing a deck requires careful planning, the right materials, and attention to detail. This comprehensive step-by-step guide will walk you through the process of building a deck from start to finish.
1. Planning and Design
Overview: Proper planning and design are crucial to ensure that your deck meets your needs, complies with local building codes, and enhances the aesthetic of your home.Steps:
- Determine the Purpose: Decide how you intend to use the deck. Will it be a place for dining, lounging, or both? Knowing the primary use will help you determine the size and layout.
- Measure the Space: Measure the area where you plan to build the deck. Consider the size of your yard, the layout of your home, and any obstacles such as trees or utility lines.
- Choose a Design: Sketch your deck design, including the shape, size, and features like stairs, railings, and built-in seating. Use design software or consult with a professional if needed.
- Check Building Codes: Verify local building codes and obtain any necessary permits. Regulations may dictate deck height, structural requirements, and safety features.
- Future Needs: Consider future needs, such as expanding the deck or adding a roof or pergola.
- Sun Exposure: Think about sun exposure and plan for shade or awnings if necessary.
2. Gathering Materials and Tools
Overview: Having the right materials and tools on hand before you start will make the building process smoother and more efficient.Materials:
- Pressure-treated lumber or composite decking for the deck frame and surface.
- Concrete for footings.
- Galvanized or stainless steel screws and nails.
- Joist hangers and post anchors.
- Decking screws.
- Gravel for drainage.
- Tape measure and level.
- Circular saw or miter saw.
- Power drill and bits.
- Hammer.
- Post hole digger.
- Shovel.
- Carpenter’s square.
- Safety gear (gloves, safety glasses, hearing protection).
- Quality Materials: Invest in high-quality materials to ensure the durability and longevity of your deck.
- Pre-Cut Lumber: Consider having lumber pre-cut at the hardware store to save time.
3. Laying the Foundation
Overview: The foundation is critical to the stability and safety of your deck. Properly set footings provide a strong base and prevent shifting and settling.Steps:
- Mark the Layout: Use stakes and string to outline the deck’s perimeter. Ensure the layout is square by measuring diagonals.
- Dig Footings: Use a post hole digger to dig holes for the footings according to local building codes, typically at least 12 inches in diameter and below the frost line.
- Pour Concrete: Pour concrete into the holes and insert post anchors. Allow the concrete to cure according to the manufacturer’s instructions.
- Consult Codes: Follow local building codes for footing depth and placement.
- Level Anchors: Ensure post anchors are level and aligned correctly.
Join HICP Homeowner’s Alliance
Connect with experts, get special discounts and enjoy member benefits
4. Building the Frame
Overview: The frame is the structural backbone of your deck. It consists of posts, beams, and joists that support the decking boards.
Steps:
- Install Posts: Set the posts into the anchors and secure them with bolts. Ensure they are plumb and properly spaced.
- Attach Beams: Attach beams to the posts using bolts or joist hangers. Beams run perpendicular to the joists and provide support.
- Install Joists: Attach joists to the beams using joist hangers. Space the joists evenly according to your design and local building codes, typically 16 inches on center.
Tips:
- Double Check Measurements: Double-check all measurements and levels before securing.
- Use Temporary Bracing: Use temporary bracing to keep posts and beams in place during construction.
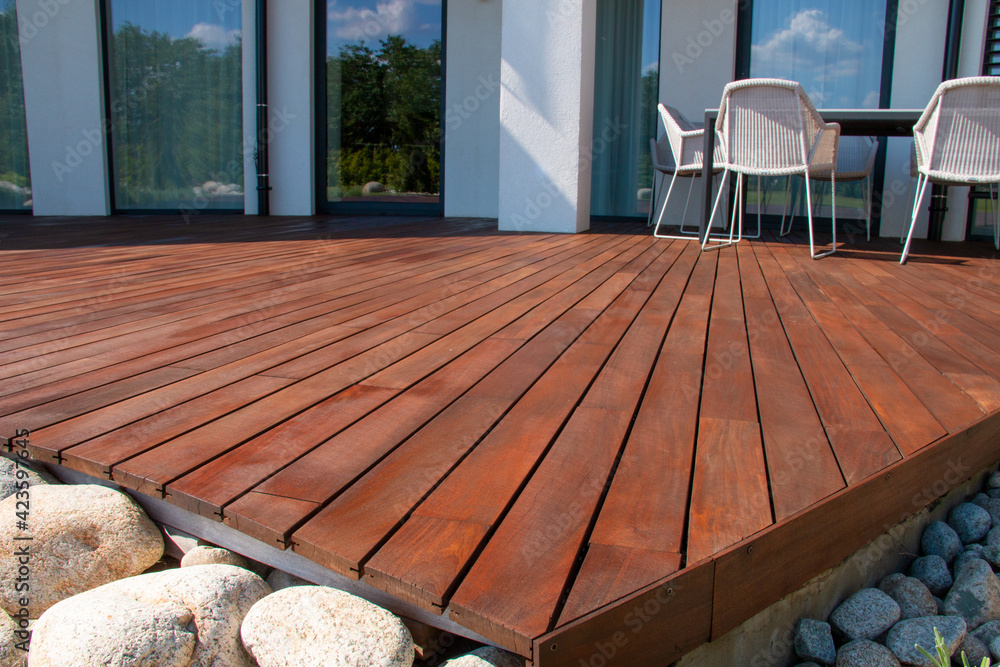
5. Installing Decking Boards
Overview: Decking boards form the surface of your deck. Proper installation ensures a smooth, durable surface.
Steps:
- Lay the Boards: Start at one end and lay the first board against the house or starting edge. Ensure it is straight and secure it with decking screws.
- Spacing: Use spacers to ensure even gaps between boards for drainage and expansion. Typical spacing is 1/8 to 1/4 inch.
- Cut to Fit: Cut the last board to fit, leaving a small gap between the end of the board and any adjacent structure for expansion.
- Secure Boards: Secure each board with decking screws, ensuring they are flush with the surface and evenly spaced.
Tips:
- Pre-Drill Holes: Pre-drill holes to prevent splitting, especially near the ends of the boards.
- Stagger Joints: Stagger the joints of the boards for a more stable and visually appealing surface.
6. Building Stairs and Railings
Overview: Stairs and railings add functionality and safety to your deck. Proper installation ensures they are sturdy and compliant with building codes.
Steps:
- Measure and Cut Stringers: Measure the height from the deck to the ground and cut stringers for the stairs. Ensure the rise and run of each step are consistent.
- Install Treads and Risers: Attach treads and risers to the stringers using screws or nails. Ensure each step is level and secure.
- Install Rail Posts: Attach rail posts to the deck frame and stairs, ensuring they are plumb and evenly spaced.
- Attach Railings: Attach horizontal rails to the posts and install balusters according to local building codes.
Tips:
- Check Codes: Verify that stair dimensions and railings meet local building codes.
- Secure Connections: Ensure all connections are secure and sturdy to prevent wobbling.
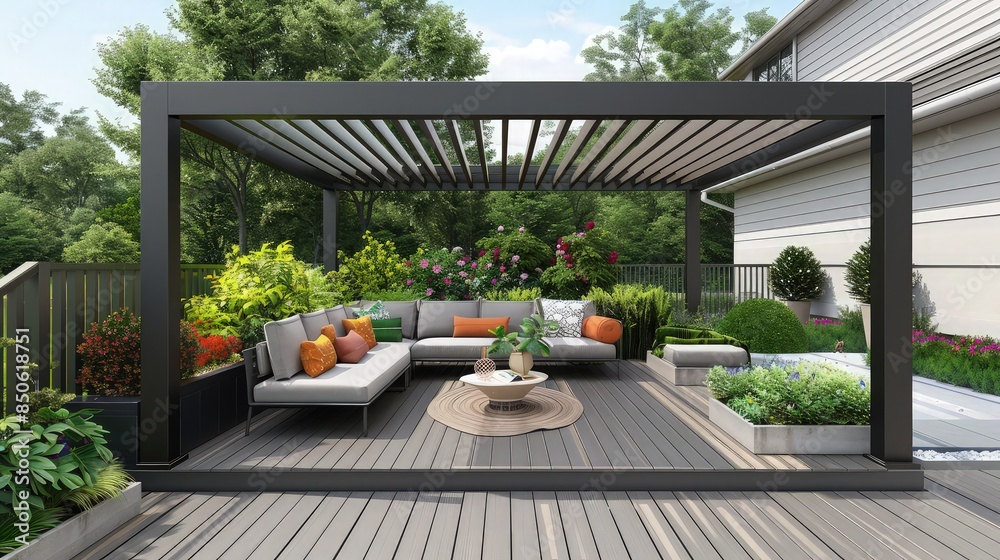
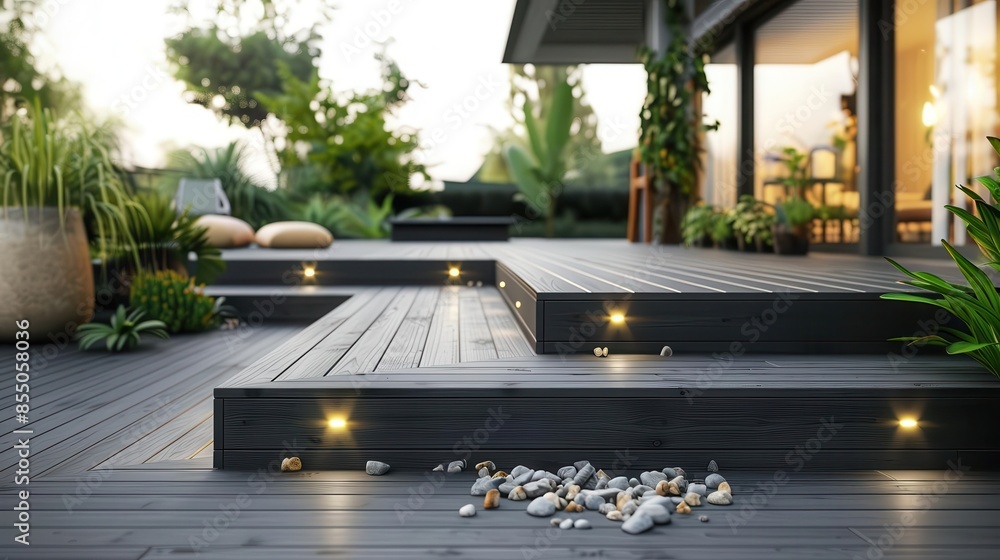
7. Finishing Touches
Overview: Finishing touches add polish and protection to your deck, ensuring it looks great and lasts for years.
Steps:
- Sand the Surface: Sand any rough spots or sharp edges to prevent splinters and improve the finish.
- Apply Sealant or Stain: Apply a sealant or stain to protect the wood from moisture, UV rays, and wear. Follow the manufacturer’s instructions for application.
- Add Decorative Elements: Add decorative elements such as post caps, lighting, and planters to enhance the appearance and functionality of your deck.
Tips:
- Follow Drying Times: Allow the sealant or stain to dry completely before using the deck.
- Regular Maintenance: Plan for regular maintenance, such as cleaning and reapplying sealant, to keep your deck in top condition.
8. Safety Considerations
Overview: Ensuring the safety of your deck is paramount. Proper construction and regular inspections can prevent accidents and structural failures.
Steps:
- Check for Stability: Regularly check for any wobbling or movement in the deck structure, stairs, and railings.
- Inspect Fasteners: Inspect screws, bolts, and nails to ensure they are tight and in good condition.
- Look for Rot: Regularly inspect wood components for signs of rot or insect damage, and replace any compromised pieces promptly.
Tips:
- Weight Limits: Be mindful of the weight limit of your deck, especially if you plan to add heavy furniture or a hot tub.
- Emergency Exits: Ensure there are clear, safe paths to and from the deck in case of an emergency.
Building a deck is a rewarding project that requires careful planning, the right materials, and attention to detail. By following this step-by-step guide, you can create a beautiful, durable deck that enhances your outdoor living space and adds value to your home. Remember to check local building codes, use quality materials, and prioritize safety throughout the construction process. With patience and diligence, you’ll enjoy the benefits of your new deck for years to come.