Benefits of Raised Garden Beds
Before we dive into the construction process, let’s briefly discuss the benefits of raised garden beds:
- Improved Soil Quality: You have complete control over the soil quality, allowing you to create the perfect growing environment for your plants.
- Better Drainage: Raised beds drain better than in-ground gardens, reducing the risk of root rot and other water-related issues.
- Reduced Soil Compaction: Since you won’t be walking on the soil, it remains loose and aerated, promoting healthy root growth.
- Pest Control: Raised beds can be fitted with protective covers or fencing to deter pests and animals.
- Ease of Access: Raised beds are easier to reach, reducing the strain on your back and knees.
Tools and Materials Needed
To build a raised garden bed, you’ll need the following tools and materials:
- Lumber (untreated cedar or redwood is recommended for durability and resistance to rot)
- Screws or nails
- Drill or hammer
- Measuring tape
- Level
- Shovel
- Landscape fabric
- Garden soil and compost
- Mulch (optional)
Step-by-Step Guide to Creating a Raised Garden Bed
Step 1: Choose the LocationSelect a sunny spot in your yard for your raised garden bed. Most vegetables and flowers need at least 6-8 hours of direct sunlight per day. Consider the proximity to a water source and ensure the area is level or can be leveled easily.
Step 2: Determine the SizeDecide on the size of your raised garden bed. A common size is 4 feet by 8 feet, which provides ample space for planting while still being easy to reach from all sides. The height of the bed can vary, but 12-18 inches is typical. If you have mobility issues, consider a taller bed to reduce bending.
Join HICP Homeowner’s Alliance
Connect with experts, get special discounts and enjoy member benefits
Choose untreated lumber for your raised bed to avoid chemicals leaching into the soil. Cedar and redwood are excellent choices due to their natural resistance to rot. You will need four boards for the sides and additional boards for any internal supports if needed.
Step 4: Prepare the GroundClear the area where you will place your raised bed. Remove any grass, weeds, or debris. Use a shovel to level the ground as much as possible. If your soil is poor or heavily compacted, consider adding a layer of gravel for drainage.
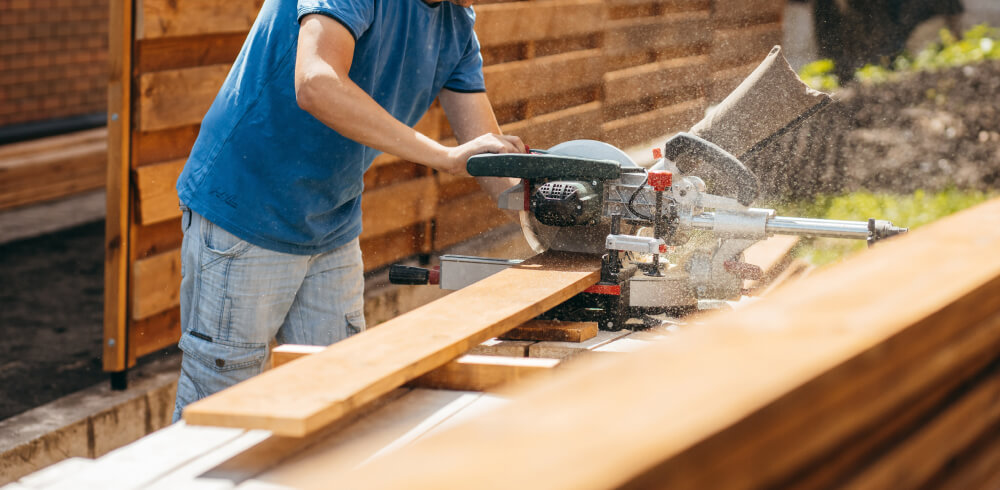
Step 5: Build the Frame- Cut the Lumber: Measure and cut your lumber to the desired lengths. For a 4×8 foot bed, you will need two 4-foot boards and two 8-foot boards.
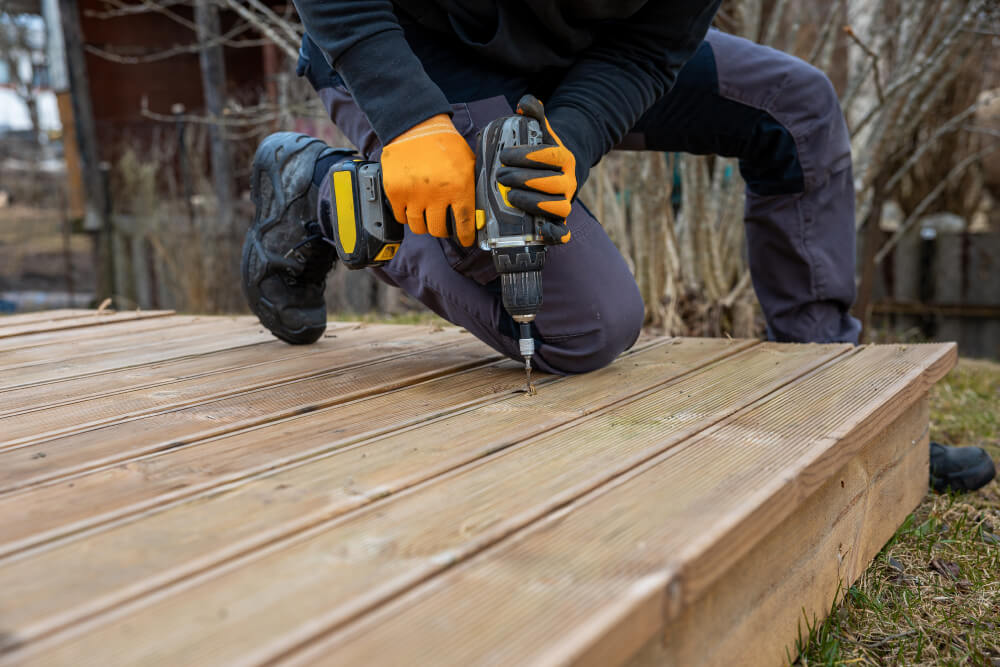
- Assemble the Frame: Use screws or nails to attach the boards at the corners, forming a rectangular frame. A drill with a screwdriver bit can make this process quicker and easier. Ensure the corners are square and the frame is level.
- Add Supports (Optional): For longer beds, add internal supports every 4 feet to prevent the sides from bowing out over time.
Line the bottom of the raised bed with landscape fabric to prevent weeds from growing up through the soil. This fabric also helps with drainage while keeping the soil in place. Secure the fabric to the sides of the frame with staples or small nails.
Step 7: Fill the BedFill your raised bed with a mix of garden soil and compost. This mixture provides a nutrient-rich environment for your plants. Aim for a ratio of 60% topsoil to 40% compost. If you’re planting vegetables, consider adding some organic fertilizer to boost soil fertility.
Now that your raised bed is ready, it’s time to plant! Follow these steps:
- Plan Your Layout: Determine which plants you want to grow and plan their placement. Consider the mature size of each plant and leave enough space for them to grow.
- Planting: Dig holes for your plants according to their requirements and place them in the soil. Water each plant thoroughly after planting.
- Mulch (Optional): Apply a layer of mulch around your plants to help retain moisture, suppress weeds, and regulate soil temperature.
To keep your raised garden bed healthy and productive, follow these maintenance tips:
- Watering: Raised beds dry out faster than in-ground gardens, so regular watering is essential. Water deeply and consistently, especially during dry periods.
- Weeding: Regularly remove any weeds that do manage to sprout. Mulch can help reduce weed growth.
- Fertilizing: Depending on your plants’ needs, you may need to add fertilizer during the growing season. Organic options like compost tea or fish emulsion are great choices.
- Pest Control: Monitor your plants for signs of pests and take action if needed. Consider using natural pest control methods to protect your garden.
Tips for Success
- Start Small: If you’re new to gardening, start with a small raised bed and expand as you gain experience.
- Companion Planting: Use companion planting techniques to maximize space and promote plant health. For example, planting marigolds with vegetables can help deter pests.
- Rotate Crops: Rotate your crops each season to prevent soil depletion and reduce the risk of disease.
When to Seek Professional Help
While building a raised garden bed is a manageable DIY project for most homeowners, there are times when you might want to seek professional help:
- Large Projects: If you’re planning a large-scale garden or multiple raised beds, a professional landscaper can help with the design and installation.
- Soil Issues: If you have poor soil quality or drainage problems, a professional can assess the situation and recommend solutions.
- Complex Designs: If you want a custom or intricate design, such as tiered beds or integrated irrigation systems, a professional can ensure the job is done correctly.
By following this step-by-step guide, you can create a beautiful and productive raised garden bed that enhances your outdoor space and provides fresh, homegrown produce. Happy gardening!