Planning and Preparation
Before starting your patio cover installation, thorough planning and preparation are crucial. Here are the steps to follow:
1. Determine the Type of Patio Cover
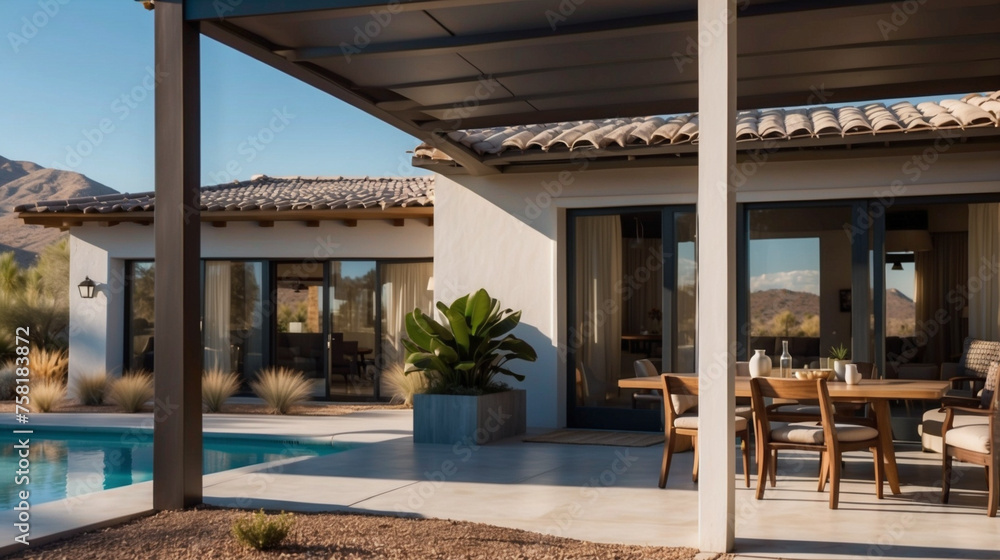
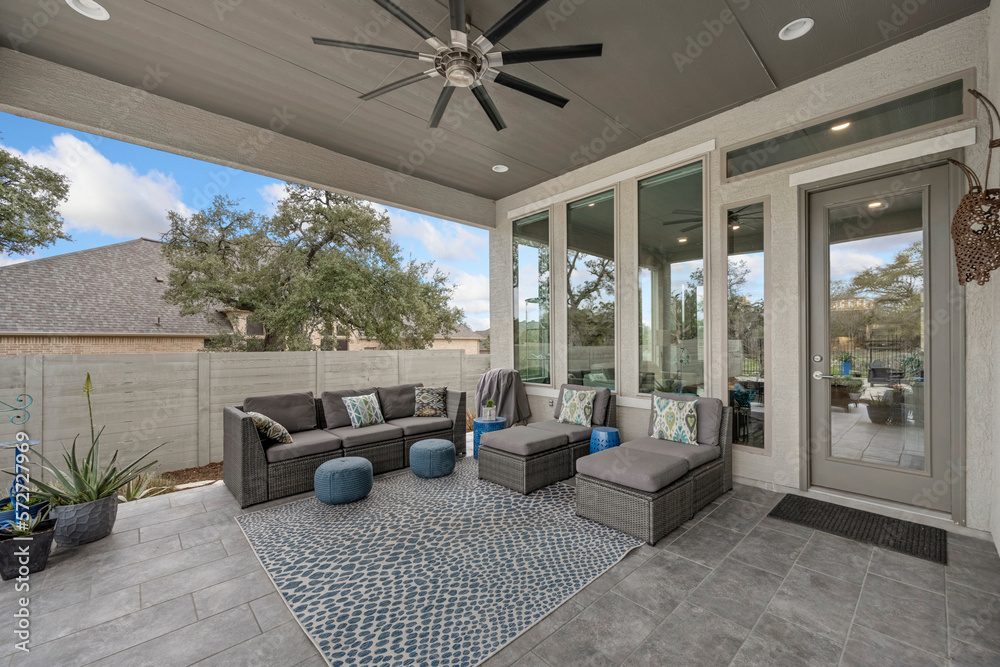
There are several types of patio covers to choose from, including pergolas, awnings, solid roof covers, and lattice covers. Consider your needs, budget, and the architectural style of your home when making your choice.
2. Measure the Space
Accurate measurements are essential for a successful installation. Measure the area where you plan to install the patio cover, noting the width, length, and height. Ensure you have enough space to accommodate the cover and any additional features you may want to include.
3. Check Local Building Codes and Permits
Before starting your project, check with your local building authority to determine if you need any permits. Building codes and regulations vary by location, and it’s essential to ensure your patio cover complies with all requirements.
4. Gather Materials and Tools
Based on the type of patio cover you’ve chosen, gather all necessary materials and tools. Common materials include wood, aluminum, vinyl, or polycarbonate, along with fasteners, brackets, and sealants. Essential tools may include a tape measure, level, drill, saw, and ladder.
Join HICP Homeowner’s Alliance
Connect with experts, get special discounts and enjoy member benefits
Step-by-Step Installation Guide
Once you have your materials and tools ready, follow these steps to install your patio cover:
Prepare the Site
- 1. Clear the Area: Remove any obstacles, furniture, or debris from the installation area. Ensure the ground is level and stable.
- Mark the Layout: Use stakes and string to outline the perimeter of your patio cover. Double-check your measurements to ensure accuracy.
2. Install the Posts
- Dig Post Holes: Use a post hole digger to dig holes for the support posts. The depth and diameter of the holes will depend on the size and type of your patio cover, but a typical depth is around 2 feet.
- Set the Posts: Place the posts in the holes and ensure they are level and plumb. Fill the holes with concrete and allow it to cure according to the manufacturer’s instructions. Make sure the posts are securely in place before proceeding.
3. Install the Beams and Rafters
- Attach Beams: Once the posts are secure, attach the horizontal beams to the top of the posts. Use brackets and screws to ensure a sturdy connection. Double-check that the beams are level.
- Install Rafters: Depending on your patio cover design, install the rafters or crossbeams. Space them evenly and secure them to the beams using brackets and screws. Ensure the rafters are level and properly aligned.
4. Add the Roofing Material
- Solid Roof Covers: If you’re installing a solid roof cover, such as wood panels or polycarbonate sheets, attach the roofing material to the rafters. Ensure the panels are properly aligned and securely fastened.
- Pergolas and Lattice Covers: For pergolas and lattice covers, attach the lattice panels or slats to the rafters. Space them evenly to achieve the desired amount of shade.
- Awnings: If you’re installing an awning, follow the manufacturer’s instructions to attach the fabric or metal cover to the frame. Ensure it is securely fastened and properly tensioned.
5. Secure and Finish
- Check for Stability: Ensure all connections are secure and the structure is stable. Tighten any loose screws or brackets.
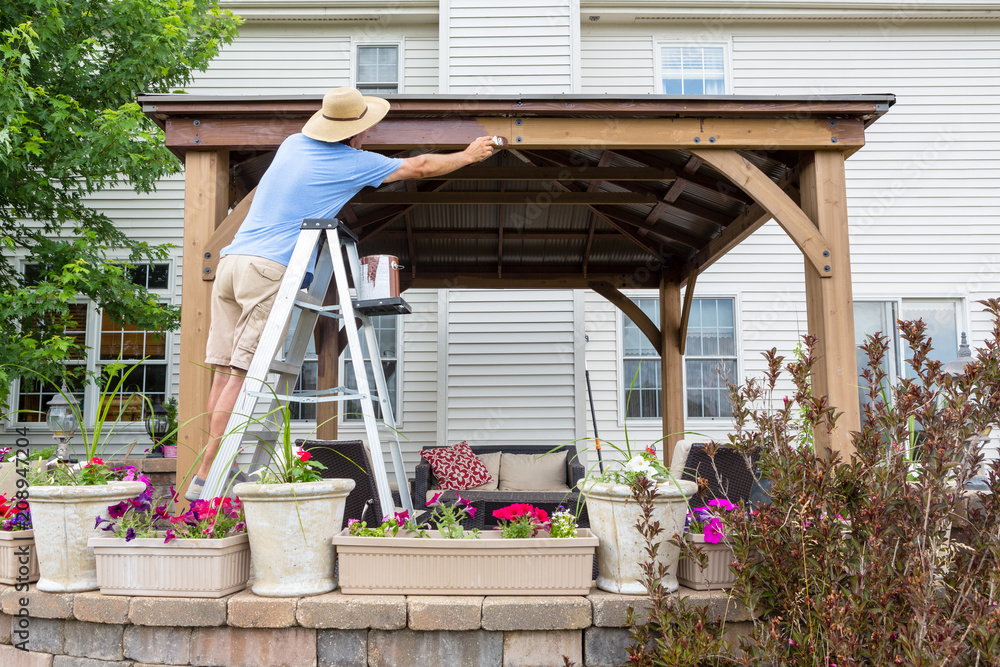
- Seal and Paint: If your patio cover is made of wood, apply a sealant to protect it from the elements. Consider painting or staining the wood to match your home’s exterior. For metal or vinyl covers, clean the surface and touch up any scratches or blemishes.
- Add Finishing Touches: Install any additional features, such as lighting, fans, or decorative elements. Make sure all electrical components are installed safely and comply with local codes.
Tips for a Successful DIY Patio Cover Installation
- Work Safely: Always prioritize safety when working on a DIY project. Use ladders and power tools with caution, and consider wearing protective gear, such as gloves and safety glasses.
- Get Help: Some tasks, such as lifting heavy beams or roofing materials, may require assistance. Enlist the help of a friend or family member to ensure the job is done safely and efficiently.
- Follow Instructions: Carefully follow the manufacturer’s instructions for all materials and components. Proper installation is crucial for the longevity and stability of your patio cover.
- Regular Maintenance: After installation, perform regular maintenance to keep your patio cover in top condition. Clean the surface, check for loose fasteners, and address any signs of wear or damage promptly.
Installing a patio cover can be a rewarding DIY project that enhances your outdoor living space and adds value to your home. By following this step-by-step guide and taking the time to plan and prepare, you can successfully install a patio cover that provides shade, protection, and beauty for years to come. Whether you choose a classic pergola, a durable solid roof cover, or a versatile awning, a well-installed patio cover is a valuable addition to any home.