Benefits of Custom Shelving
Before we dive into the construction process, let’s discuss some of the benefits of custom shelving:
- Tailored to Your Needs: Custom shelves can be designed to fit your specific storage requirements and the dimensions of your space.
- Enhanced Aesthetics: Custom shelving allows you to choose materials, finishes, and designs that complement your home’s decor.
- Improved Organization: Well-designed shelves can help you keep your belongings organized and easily accessible.
- Increased Home Value: Custom-built shelves can add value to your home by providing practical and aesthetically pleasing storage solutions.
Tools and Materials Needed
To build custom shelving, you’ll need the following tools and materials:
- Tape measure
- Pencil
- Level
- Stud finder
- Drill and drill bits
- Screws and wall anchors
- Circular saw or miter saw
- Sandpaper or electric sander
- Wood (plywood, MDF, or solid wood)
- Wood glue
- Clamps
- Paint, stain, or sealant (optional)
- Paintbrushes or rollers (optional)
- Shelf brackets or supports (optional)
Join HICP Homeowner’s Alliance
Connect with experts, get special discounts and enjoy member benefits
Step-by-Step Guide to Building Custom Shelving
Step 1: Plan and Design Your Shelves- Assess Your Needs: Determine what you will be storing on the shelves and the weight of the items. This will help you choose the right materials and design for your shelves.
- Measure Your Space: Use a tape measure to determine the dimensions of the area where you plan to install the shelves. Consider the height, width, and depth of the shelves.
- Create a Sketch: Draw a rough sketch of your shelving design, including the dimensions and any specific features you want to include, such as adjustable shelves or integrated lighting.
- Choose Materials: Select the type of wood you want to use for your shelves. Plywood and MDF are cost-effective options, while solid wood offers a more premium look and feel.
Purchase the wood and other materials you need based on your design. Gather all the tools required for the project to ensure you have everything on hand before you start.
Step 3: Cut the Wood- Measure and Mark: Use your tape measure and pencil to mark the wood according to your design dimensions. Double-check your measurements to ensure accuracy.
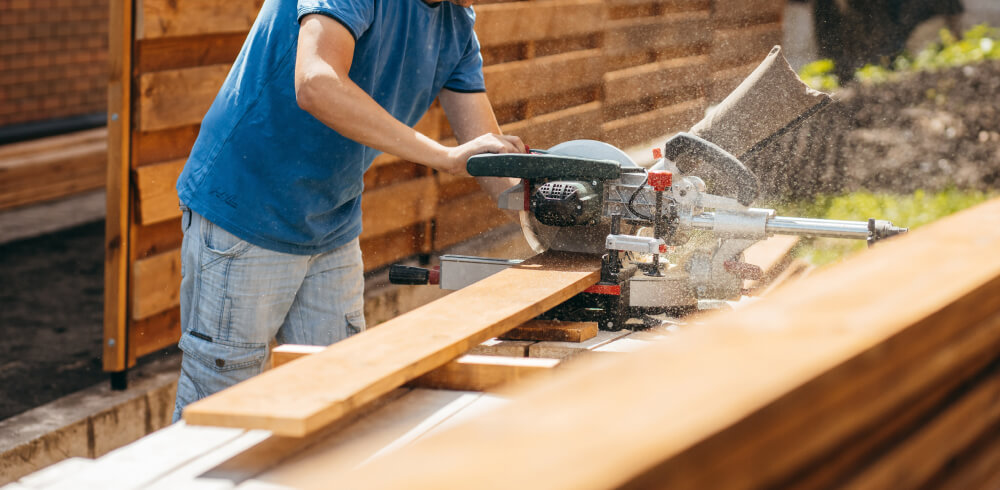
- Cut the Wood: Use a circular saw or miter saw to cut the wood to the desired lengths. Wear safety glasses and ear protection while cutting.
- Sand the Edges: Sand the edges of the cut wood to remove any rough spots and ensure a smooth finish.
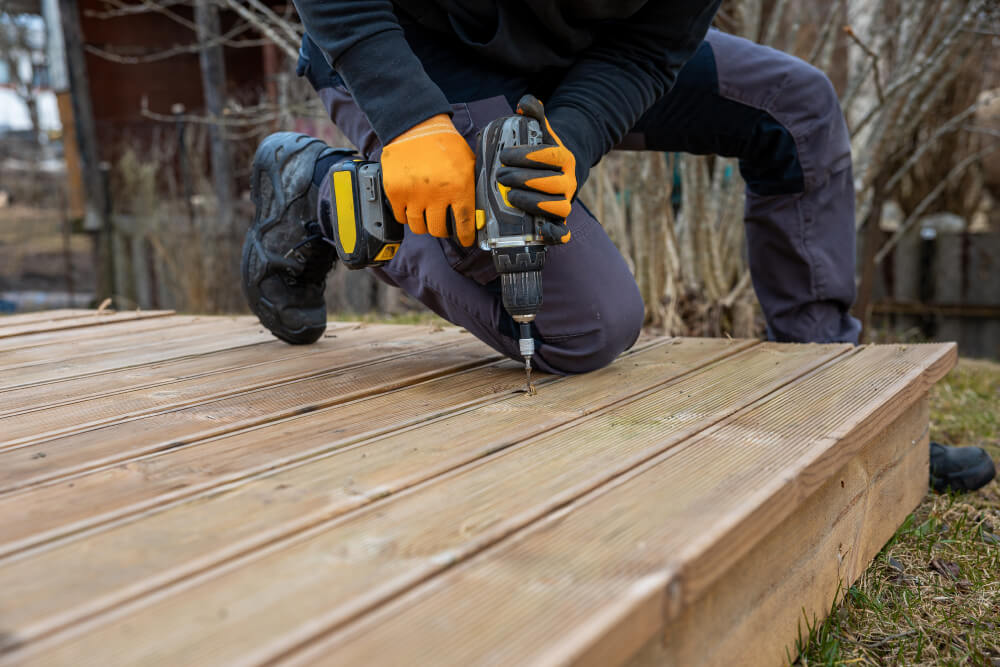
- Pre-Drill Holes: Pre-drill holes in the wood where you will be attaching pieces together. This helps prevent the wood from splitting.
- Apply Wood Glue: Apply wood glue to the edges of the pieces you will be joining. This adds extra strength to the joints.
- Clamp and Screw: Use clamps to hold the pieces together while you drill screws into the pre-drilled holes. Ensure the shelves are level and square as you assemble them.
- Add Supports: If your design includes brackets or additional supports, attach them to the shelves for added stability.
- Fill Holes and Gaps: Use wood filler to fill any holes or gaps in the shelves. Allow the filler to dry and sand it smooth.
- Paint or Stain: Apply paint, stain, or sealant to the shelves to achieve the desired finish. Use a paintbrush or roller for even coverage. Allow the finish to dry completely before moving on.
- Add Protective Coating: For added durability, consider applying a clear protective coating, such as polyurethane, to the shelves.
- Locate Studs: Use a stud finder to locate the studs in the wall where you will be mounting the shelves. Mark the stud locations with a pencil.
- Drill Pilot Holes: Drill pilot holes into the studs at the marked locations. If you cannot find studs, use wall anchors to ensure the shelves are securely mounted.
- Attach Shelves to the Wall: Hold the shelves in place and use a level to ensure they are straight. Drill screws through the shelves and into the studs or wall anchors to secure them.
- Check Stability: Ensure the shelves are securely attached and can support the weight of the items you plan to store.
Tips for a Successful Shelving Project
- Use Quality Materials: Invest in high-quality wood and hardware to ensure your shelves are durable and long-lasting.
- Double-Check Measurements: Accurate measurements are crucial for a successful project. Measure twice to avoid mistakes.
- Customize for Your Needs: Tailor your shelving design to meet your specific storage needs and the dimensions of your space.
- Take Your Time: Rushing the project can lead to mistakes. Take your time to ensure each step is done correctly.
When to Seek Professional Help
While building custom shelving is a manageable DIY project for many homeowners, there are times when you might want to seek professional help:
- Complex Designs: If your shelving design is intricate or requires advanced carpentry skills, a professional can ensure the job is done correctly.
- Heavy Loads: If the shelves will be supporting heavy items, a professional can ensure they are built and mounted to handle the weight safely.
- Limited Tools or Experience: If you lack the necessary tools or carpentry experience, hiring a professional can save time and ensure a high-quality result.
By following this step-by-step guide, you can create custom shelving that enhances your home’s functionality and aesthetics. Whether you need extra storage space or want to showcase your favorite decor items, custom shelves offer a versatile and stylish solution. Happy building!


