Benefits of Installing a New Vanity
Before diving into the installation process, let’s explore the benefits of upgrading your bathroom vanity:
- Enhanced Aesthetics: A new vanity can modernize your bathroom and improve its overall look.
- Increased Storage: Upgrading to a vanity with more storage space can help keep your bathroom organized and clutter-free.
- Improved Functionality: A new vanity can offer better sink and countertop options, making your bathroom more functional.
- Increased Home Value: A stylish and functional bathroom can increase the value of your home and appeal to potential buyers.
- Personalization: Installing a new vanity allows you to customize your bathroom to suit your taste and needs.
Tools and Materials Needed
To install a new bathroom vanity, you’ll need the following tools and materials:
- New vanity
- Vanity top and sink (if not included)
- Faucet and drain assembly
- Plumber’s putty or silicone caulk
- Water supply lines
- Adjustable wrench
- Pipe wrench
- Screwdriver
- Drill and drill bits
- Level
- Measuring tape
- Pencil
- Utility knife
- Bucket or towels (for water spills)
- Safety gear (gloves, safety glasses)
Join HICP Homeowner’s Alliance
Connect with experts, get special discounts and enjoy member benefits
Step-by-Step Guide to Installing a New Vanity
Step 1: Choose the Right Vanity- Measure Your Space: Measure the dimensions of your existing vanity and the available space in your bathroom. Consider the width, height, and depth to ensure the new vanity fits properly.
- Select a Vanity Style: Choose a vanity that complements your bathroom’s design. Options include freestanding, wall-mounted, and corner vanities.
- Choose a Vanity Top and Sink: Decide whether you want a single or double sink, and select a vanity top material that suits your style and budget. Common materials include granite, marble, quartz, and laminate.
- Select a Faucet and Hardware: Choose a faucet and hardware that match your vanity and bathroom decor. Ensure the faucet holes on the vanity top match the faucet configuration.
- Turn Off the Water Supply: Locate the shut-off valves under the sink and turn off the water supply. If there are no shut-off valves, turn off the main water supply to the house.
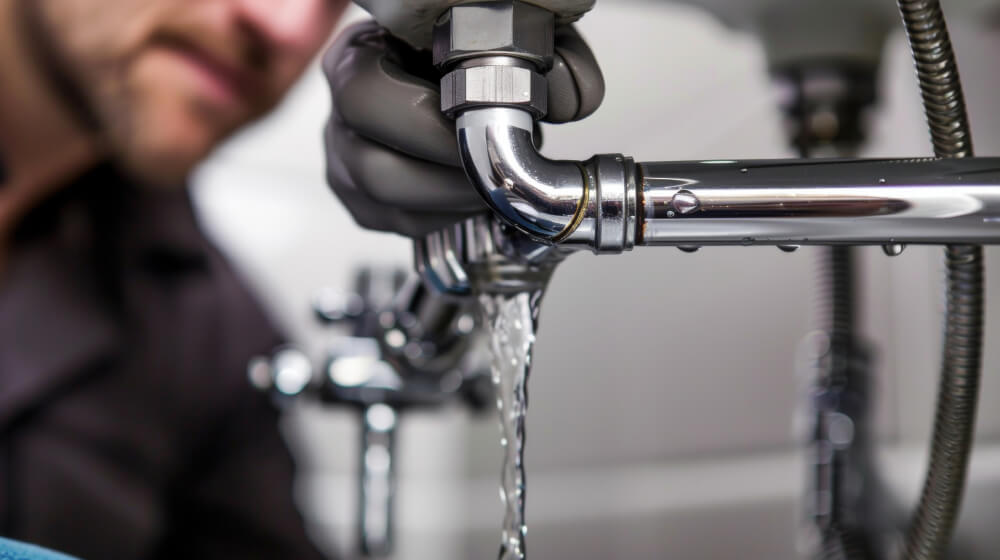
- Disconnect the Plumbing: Use an adjustable wrench to disconnect the water supply lines from the faucet. Place a bucket or towels under the connections to catch any water.
- Remove the Sink: If the sink is separate from the vanity top, carefully remove it. Use a utility knife to cut through any caulk or adhesive holding it in place.
- Remove the Vanity Top: If the vanity top is attached to the cabinet, carefully pry it off using a screwdriver or pry bar. Be cautious not to damage the walls or surrounding surfaces.
- Remove the Vanity Cabinet: Use a screwdriver or drill to remove the screws securing the vanity cabinet to the wall. Carefully pull the cabinet away from the wall and remove it from the bathroom.
- Inspect the Plumbing: Check the plumbing for any signs of damage or leaks. Replace any worn-out components or fix leaks before installing the new vanity.
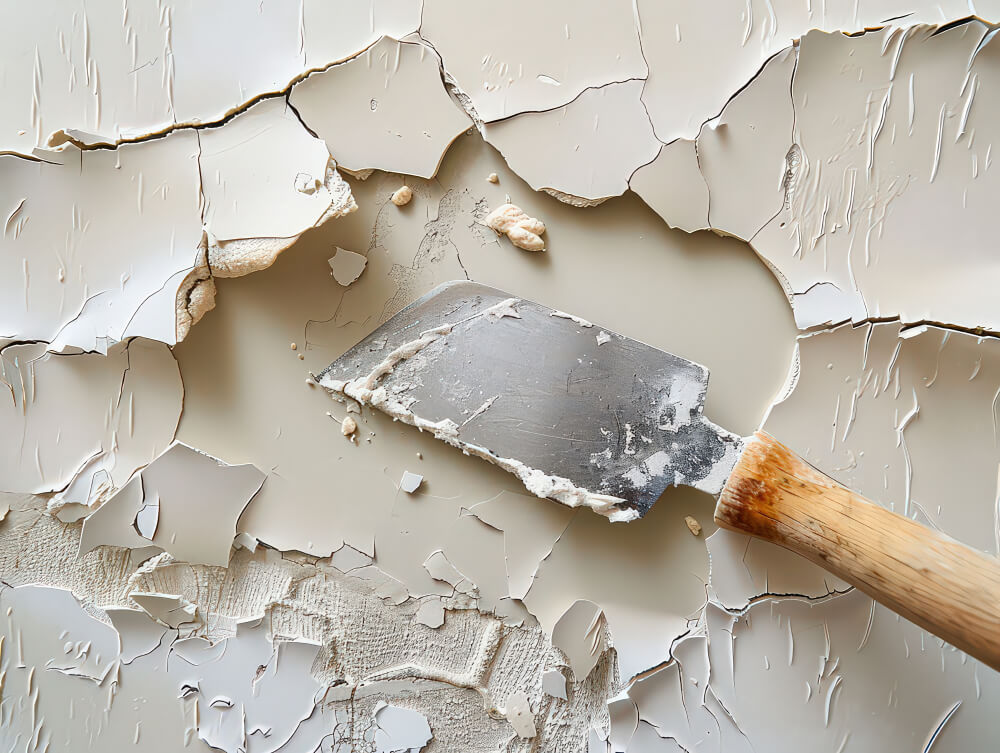
- Repair the Wall: Patch any holes or damage to the wall where the old vanity was removed. Ensure the wall is smooth and clean.
- Mark the Studs: Use a stud finder to locate the wall studs behind the vanity area. Mark their locations with a pencil.
- Position the Vanity: Place the new vanity cabinet in the desired location. Use a level to ensure it is perfectly level and plumb. Adjust the cabinet as needed using shims.
- Secure the Vanity: Use screws to secure the vanity cabinet to the wall studs. Drill pilot holes first to prevent splitting the wood. Ensure the cabinet is firmly attached and does not wobble.
- Install the Vanity Top: Apply a bead of silicone caulk along the top edges of the vanity cabinet. Carefully place the vanity top onto the cabinet, ensuring it is centered and aligned. Press down firmly to secure it in place.
- Install the Sink: If the sink is separate from the vanity top, apply a bead of silicone caulk around the edge of the sink opening. Carefully place the sink into the opening and press down to secure it.
- Install the Faucet: Follow the manufacturer’s instructions to install the faucet onto the vanity top. Use plumber’s putty or silicone caulk to seal the base of the faucet.
- Install the Drain Assembly: Assemble the drain components and insert them into the sink’s drain hole. Use plumber’s putty or silicone caulk to seal the drain flange. Tighten the drain assembly components to ensure a watertight seal.
- Connect the Water Supply Lines: Connect the water supply lines to the faucet using an adjustable wrench. Ensure the connections are tight but avoid overtightening.
- Turn On the Water Supply: Turn on the shut-off valves or the main water supply to the house. Check for any leaks around the faucet and drain connections.
- Test the Faucet and Drain: Turn on the faucet and let the water run for a few minutes. Check for any leaks or issues with water flow. Ensure the drain is working properly.
- Apply Caulk: Apply a bead of silicone caulk along the edges where the vanity top meets the wall and around the sink. Smooth the caulk with your finger or a caulking tool for a clean finish.
- Install Hardware: Attach any hardware, such as drawer pulls or cabinet handles, to the vanity cabinet. Ensure they are securely fastened.
Tips for a Successful Vanity Installation
- Double-Check Measurements: Accurate measurements are crucial for a proper fit. Measure twice to avoid mistakes.
- Use Quality Materials: Invest in high-quality materials and fixtures for a durable and long-lasting vanity.
- Work with a Partner: Installing a vanity can be a two-person job, especially when handling heavy components. Enlist the help of a partner to make the process easier.
- Follow Manufacturer’s Instructions: Always follow the manufacturer’s instructions for installing the vanity, faucet, and drain assembly.
- Be Patient: Take your time to ensure each step is done correctly. Rushing can lead to mistakes and poor results.
When to Seek Professional Help
While installing a bathroom vanity is a manageable DIY project for many homeowners, there are times when professional help is necessary:
- Complex Plumbing: If your plumbing needs significant modifications or repairs, a professional plumber can ensure the job is done correctly and safely.
- Custom Vanity Installations: For custom or high-end vanity installations, a professional can ensure a perfect fit and finish.
- Limited Tools or Experience: If you lack the necessary tools or experience, hiring a professional can save time and ensure a high-quality result.
By following this comprehensive guide, you can successfully install a new vanity that enhances your bathroom’s functionality and aesthetic appeal. Proper planning, quality materials, and careful execution ensure a professional and long-lasting finish. Enjoy the satisfaction of a beautifully upgraded bathroom and the compliments from your guests. Happy renovating!


