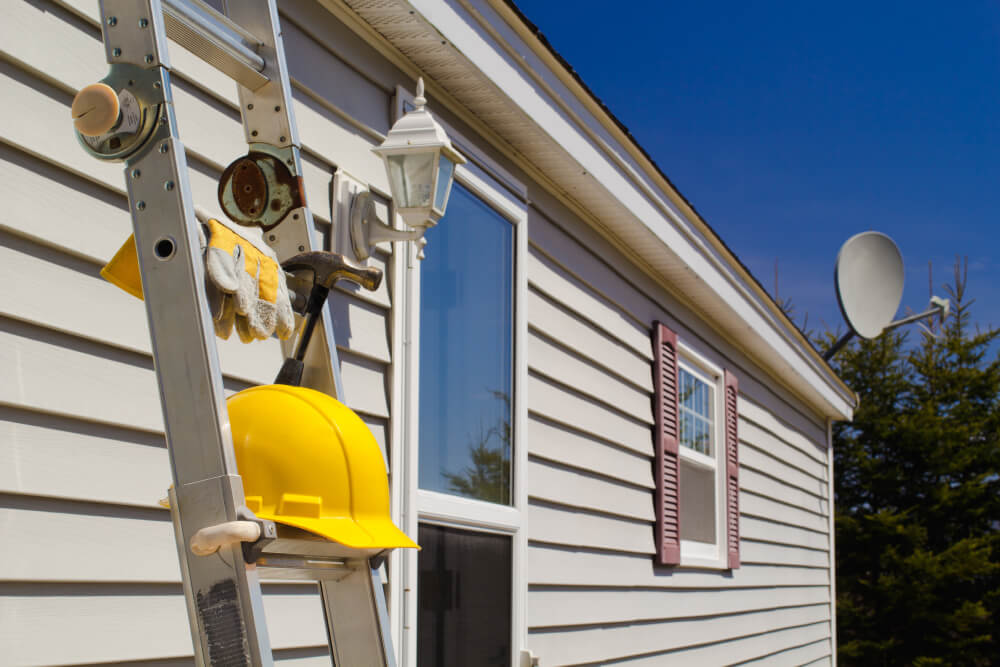
Materials and Tools Needed
Materials:
- Siding panels (vinyl, wood, fiber cement, etc.)
- House wrap or building paper
- Nails or screws (appropriate for your siding material)
- Flashing
- Trim pieces
- J-channel (for vinyl siding)
- Starter strips (for vinyl siding)
- Caulk and sealant
Tools:
- Hammer or nail gun
- Circular saw or utility knife (for cutting siding panels)
- Tape measure
- Level
- Chalk line
- Pry bar
- Safety glasses and gloves
- Ladder or scaffolding
Preparation
1. Measure and Plan
- Start by measuring the total area to be covered with siding. Calculate the square footage and add 10-15% for waste and mistakes. Ensure you have all necessary materials and tools before starting the project.
2. Remove Old Siding
- If replacing old siding, carefully remove it using a pry bar. Be cautious not to damage the underlying sheathing or structure. Dispose of the old siding properly.
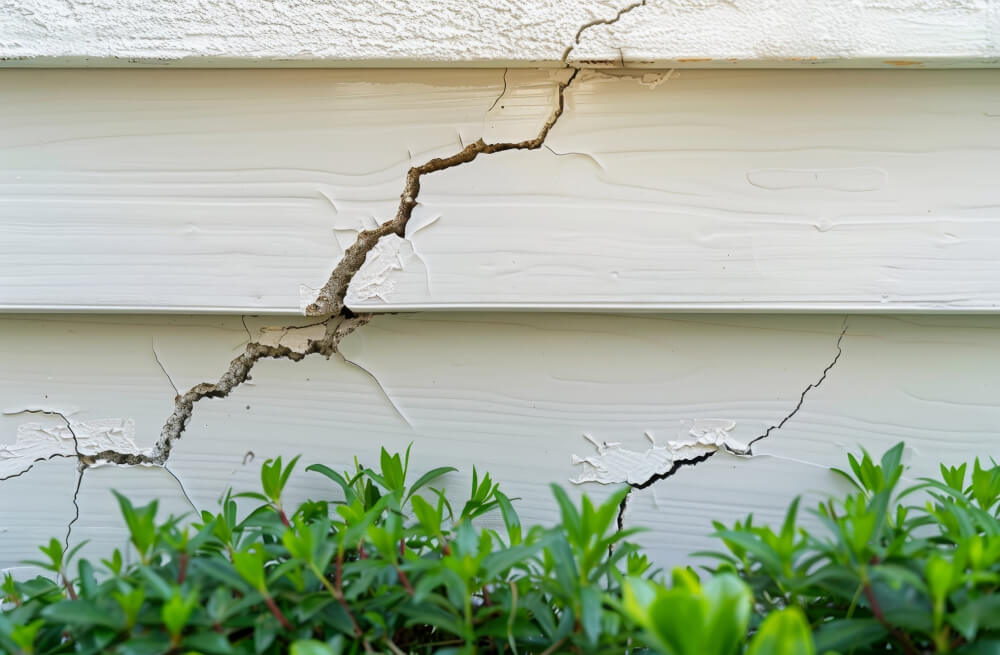
3. Inspect and Repair the Sheathing
- Inspect the sheathing for any damage, rot, or mold. Repair or replace any damaged areas before proceeding. This step is crucial for ensuring a solid and stable base for the new siding.
4. Install House Wrap
- Apply house wrap or building paper over the sheathing to create a moisture barrier. Start at the bottom and work your way up, overlapping each row by at least 6 inches. Secure the wrap with staples or nails, ensuring there are no gaps or wrinkles.
Join HICP Homeowner’s Alliance
Connect with experts, get special discounts and enjoy member benefits
Installation Steps
1. Install the Starter Strip
- For vinyl siding, begin by installing the starter strip at the bottom of the wall. Use a level to ensure it is perfectly straight. The starter strip provides a secure base for the first row of siding panels.
2. Install Corner Posts
- Install corner posts at each corner of the house. These provide a finished edge for the siding panels and help guide the installation process. Ensure they are plumb and securely fastened.
3. Install J-Channel
- For vinyl siding, install J-channel around windows, doors, and other openings. This trim piece helps hold the siding panels in place and provides a clean edge.
4. Cut Siding Panels
- Measure and cut the siding panels to fit around windows, doors, and other obstacles. Use a circular saw or utility knife for clean cuts. Remember to leave a small gap (about 1/4 inch) between the panels and the trim to allow for expansion and contraction.
5. Install the First Row
- Attach the first row of siding panels to the starter strip, ensuring they snap securely into place. Use nails or screws to fasten the panels to the sheathing, leaving a small gap between the fasteners and the panel to allow for movement.
6. Continue Installing Rows
- Work your way up the wall, installing each row of siding panels. Overlap each panel according to the manufacturer’s instructions. Use a level and chalk line to ensure each row is straight and level. Secure the panels with nails or screws, spacing them according to the manufacturer’s recommendations.
7. Install Trim Pieces
- Install trim pieces around windows, doors, and at the top of the wall. These pieces provide a finished look and help protect the edges of the siding. Use caulk and sealant to fill any gaps and create a watertight seal.
8. Install Flashing
- Install flashing around windows, doors, and other openings to direct water away from the siding and prevent moisture intrusion. Ensure the flashing overlaps the house wrap and is securely fastened.
Final Steps
1. Inspect Your Work
- After installing the siding, inspect your work for any gaps, loose panels, or other issues. Make any necessary adjustments to ensure a secure and professional-looking installation.
2. Clean Up
- Clean up the work area, removing any debris and disposing of it properly. Store any leftover materials for future repairs or touch-ups.
To keep your new siding looking its best, follow these maintenance tips:
- Clean regularly: Use a garden hose and mild detergent to clean vinyl and metal siding. For wood siding, use a soft brush and soapy water.
- Inspect annually: Check for any damage, such as cracks, warping, or loose panels. Repair or replace damaged areas promptly.
- Repaint or restain wood siding: To maintain its appearance and protect it from the elements, repaint or restain wood siding every few years.
Installing siding is a substantial project that can greatly enhance your home’s appearance and protection. By following this step-by-step guide and taking the time to properly prepare and install each component, you can achieve professional-quality results. Remember to prioritize safety, use the right tools and materials, and seek professional help if needed. With patience and attention to detail, your new siding will provide lasting beauty and durability for years to come.