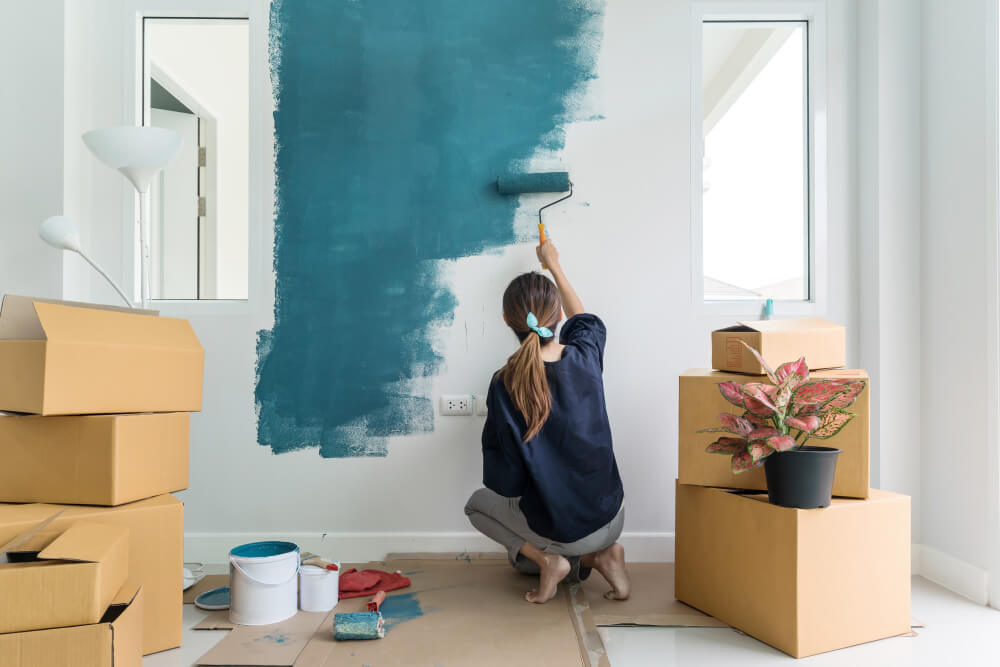
Wallpaper can dramatically transform any room in your home, adding texture, color, and personality. Whether you choose a bold pattern, a subtle texture, or a whimsical design, hanging wallpaper can be a rewarding DIY project that enhances your home’s decor. This comprehensive guide will walk you through the process of hanging wallpaper like a pro, ensuring a flawless and long-lasting finish.
Benefits of Wallpaper
Before diving into the hanging process, let’s explore the benefits of adding wallpaper to your home:
- Aesthetic Appeal: Wallpaper offers a wide range of designs, colors, and textures, allowing you to create unique and visually stunning walls.
- Durability: High-quality wallpaper is durable and can withstand wear and tear, making it a great option for high-traffic areas.
- Conceals Imperfections: Wallpaper can hide minor wall imperfections, such as cracks and uneven surfaces, that paint may not cover.
- Easy to Clean: Many modern wallpapers are washable, making them easy to maintain and keep looking fresh.
- Versatility: Wallpaper can be used on accent walls, entire rooms, or even as a backdrop for shelves and cabinets.
Tools and Materials Needed
To hang wallpaper, you’ll need the following tools and materials:
- Wallpaper
- Wallpaper adhesive (if not pre-pasted)
- Wallpaper paste brush or roller
- Wallpaper smoothing tool or plastic smoother
- Utility knife
- Tape measure
- Level
- Plumb line or laser level
- Seam roller
- Sponge or cloth
- Bucket of water
- Drop cloths or tarps
- Step ladder
- Pencil
Join HICP Homeowner’s Alliance
Connect with experts, get special discounts and enjoy member benefits
Step-by-Step Guide to Hanging Wallpaper
Step 1: Prepare the Walls- Clean the Walls: Start by cleaning the walls to remove any dust, dirt, or grease. Use a mild detergent and water, then let the walls dry completely.
- Repair Imperfections: Fill any holes or cracks with spackling compound and sand smooth. Ensure the surface is even and free of imperfections.
- Prime the Walls: Apply a primer-sealer to the walls to create a smooth, sealed surface that helps the wallpaper adhere better. Allow the primer to dry completely.
- Measure the Wall Height: Measure the height of the wall from the baseboard to the ceiling or crown molding. Add an extra 2-3 inches to the measurement to allow for trimming at the top and bottom.
- Cut the Wallpaper: Roll out the wallpaper on a flat surface and cut the first strip to the measured length. Use a straight edge and a utility knife for clean cuts. If the wallpaper has a repeating pattern, ensure the pattern aligns correctly before cutting.
- Lay Out the Wallpaper: Lay the wallpaper face down on a clean, flat surface.
- Apply Adhesive: If you’re using unpasted wallpaper, apply a thin, even layer of wallpaper adhesive to the back of the wallpaper using a paste brush or roller. Follow the manufacturer’s instructions for the appropriate amount of adhesive.
- Book the Wallpaper: Fold the pasted sides of the wallpaper onto itself (paste-to-paste) and let it sit for a few minutes to allow the adhesive to activate. This process is called “booking.”
- Mark a Starting Point: Use a level and a pencil to draw a vertical plumb line on the wall to serve as a guide for the first strip of wallpaper. This ensures the wallpaper is hung straight.
- Position the Wallpaper: Unfold the top half of the booked wallpaper and align it with the plumb line, allowing a slight overlap at the top and bottom. Smooth the wallpaper onto the wall using your hands.
- Smooth the Wallpaper: Use a wallpaper smoothing tool or plastic smoother to gently press the wallpaper onto the wall, working from the center outward to remove any air bubbles and wrinkles.
- Trim Excess Wallpaper: Use a utility knife to trim the excess wallpaper at the top and bottom edges, using a straight edge as a guide.
- Match the Pattern: For patterned wallpaper, ensure the pattern matches up with the previous strip. Align the edges carefully to maintain a seamless look.
- Repeat the Process: Repeat the process of applying adhesive, booking, and hanging each strip, ensuring they are aligned correctly with the adjacent strip.
- Seam Roll: Use a seam roller to press the seams between strips gently. This ensures a tight bond and prevents the edges from lifting.
- Clean Excess Adhesive: Use a damp sponge or cloth to gently wipe away any excess adhesive from the wallpaper surface and seams. Be careful not to damage the wallpaper.
- Smooth Out Bubbles: If you notice any air bubbles, use a pin to puncture them and then smooth out the area with a smoothing tool.
Tips for a Professional Finish
- Plan Ahead: Measure and cut all your wallpaper strips before starting to hang them. This ensures you can work continuously and maintain pattern alignment.
- Use Quality Tools: Invest in high-quality tools like a smoothing tool, seam roller, and a sharp utility knife for the best results.
- Work with a Partner: Having a second person to help hold and position the wallpaper can make the process easier and more accurate.
- Take Your Time: Don’t rush the process. Take your time to ensure each strip is properly aligned and smoothed out.
- Maintain Cleanliness: Keep your hands and tools clean to avoid transferring adhesive to the front of the wallpaper.
When to Seek Professional Help
- Complex Patterns: If you’re using a complex or intricate pattern, a professional can ensure precise alignment and a seamless finish.
- Large Areas: For large rooms or entire homes, a professional can work more efficiently and ensure a high-quality result.
- Limited Experience: If you lack the necessary tools or experience, hiring a professional can save time and prevent costly mistakes.
By following this comprehensive guide, you can successfully hang wallpaper like a pro, transforming your walls and enhancing your home’s decor. Proper preparation, high-quality materials, and careful application ensure a flawless and long-lasting finish. Enjoy the satisfaction of a beautifully wallpapered room and the compliments from your guests. Happy wallpapering!