1. Plan and Gather Supplies
- Assess the Project Scope Determine the areas of your home that need painting and assess the condition of the surfaces. This will help you estimate the amount of paint and other materials required.
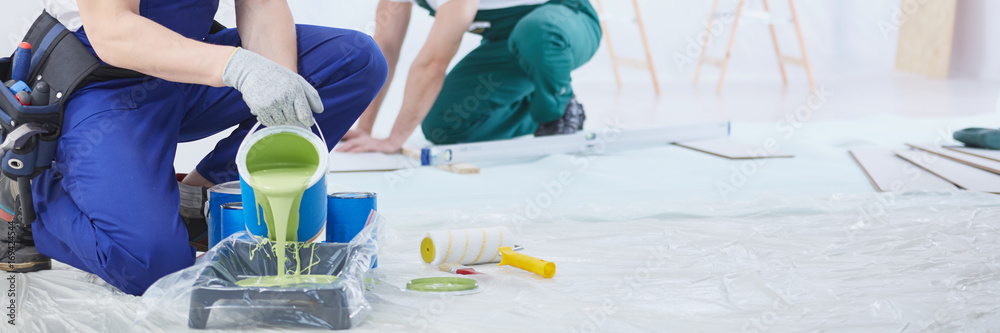
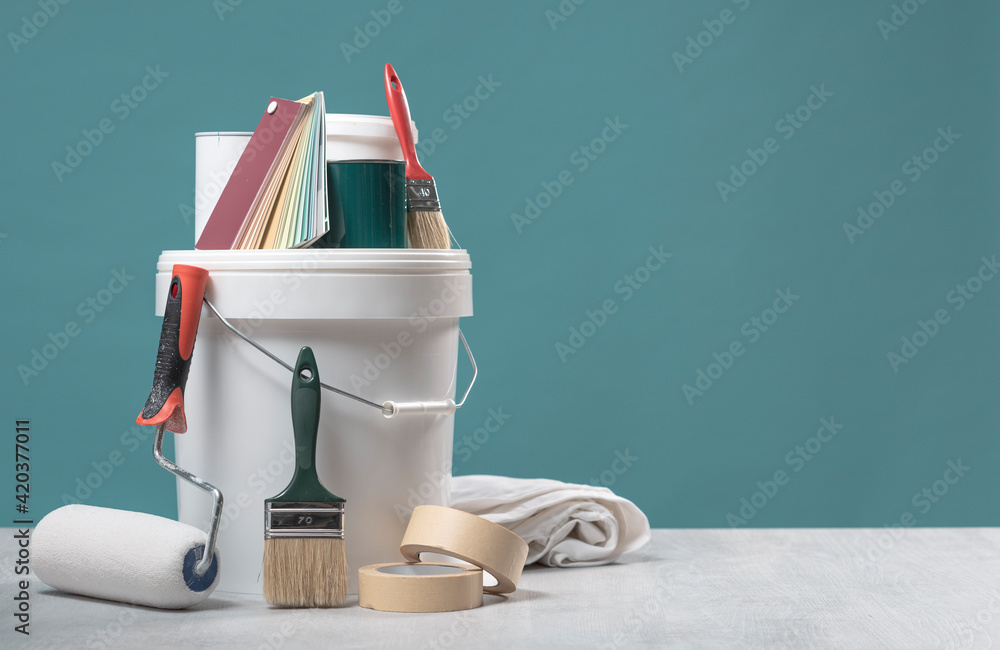
- Gather Supplies
Ensure you have all the necessary tools and materials, including:
- High-quality exterior paint and primer
- Brushes, rollers, and paint sprayers
- Drop cloths and painter’s tape
- Ladders and scaffolding
- Sandpaper and scrapers
- Pressure washer or hose with a high-pressure nozzle
- Cleaning solutions (trisodium phosphate or a mild detergent)
- Caulk and caulking gun
- Safety gear (gloves, goggles, and masks)
2. Clean the Surface
- Remove Dirt and Debris Use a pressure washer or a hose with a high-pressure nozzle to remove dirt, dust, and debris from the surface of your home. Pay special attention to areas with mold, mildew, and algae.
- Use Cleaning Solutions For stubborn stains and mold, apply a cleaning solution such as trisodium phosphate (TSP) or a mild detergent mixed with water. Scrub the surface with a stiff-bristle brush and rinse thoroughly with clean water.
- Allow to Dry Let the surface dry completely before moving on to the next step. This can take 24-48 hours depending on weather conditions.
Join HICP Homeowner’s Alliance
Connect with experts, get special discounts and enjoy member benefits
3. Repair and Patch
- Inspect for Damage Carefully inspect the exterior surfaces for any damage, including cracks, holes, and rotting wood. Addressing these issues is crucial for a smooth and durable paint job.
- Repair Cracks and Holes Use an exterior-grade filler or patching compound to fill cracks and holes in wood, stucco, or masonry surfaces. Apply the filler with a putty knife and smooth it out. Allow it to dry according to the manufacturer’s instructions and then sand it smooth.
- Replace Damaged Wood If you find rotting or severely damaged wood, replace it with new, treated wood. Secure the new wood in place with nails or screws and ensure it is flush with the surrounding surface.
4. Sanding and Scraping
- Remove Loose Paint Use a paint scraper or wire brush to remove any loose or flaking paint. This will provide a stable surface for the new paint to adhere to.
- Sand Rough Areas Sand rough or uneven areas with medium-grit sandpaper to create a smooth surface. Pay special attention to edges and transitions between patched areas and the existing surface.
- Smooth Out Feathered Edges Sand the edges of remaining paint to feather them out and blend them with the surrounding surface. This helps to create a seamless finish when the new paint is applied.
5. Protect Surrounding Areas
- Cover Plants and Landscaping Use drop cloths or plastic sheeting to protect plants, shrubs, and landscaping around your home. Secure the coverings to prevent them from blowing away.
- Mask Windows and Doors Apply painter’s tape around windows, doors, and any other areas you want to protect from paint splatters. Use plastic sheeting or drop cloths to cover larger areas.
- Remove or Cover Fixtures Remove or cover exterior fixtures such as light fixtures, house numbers, and mailboxes. This will prevent paint from getting on them and make painting around these areas easier.
6. Prime the Surface
- Choose the Right Primer Select a high-quality primer that is compatible with the type of paint you will be using and the surface you are painting. Primers are essential for sealing the surface, improving adhesion, and providing a uniform base for the topcoat.
- Apply Primer Use a brush, roller, or paint sprayer to apply the primer evenly over the surface. Be sure to cover all repaired and patched areas thoroughly. Allow the primer to dry according to the manufacturer’s instructions.
7. Caulking
- Inspect Joints and Seams Check all joints, seams, and gaps around windows, doors, and trim for cracks or gaps that need to be sealed.
- Apply Caulk Use a high-quality, paintable exterior caulk to seal any gaps and cracks. Apply the caulk with a caulking gun, smooth it out with a caulk smoothing tool or your finger, and allow it to dry completely before painting.
8. Final Inspection
- Double-Check Surface Preparation Conduct a final inspection of the surface to ensure all repairs, sanding, priming, and caulking are completed. Look for any areas that may need additional attention.
- Clean Up the Area Remove any debris, dust, and tools from the work area. Make sure all protective coverings are securely in place.
Proper preparation is the foundation of a successful exterior painting project. By following this step-by-step guide, you can ensure that your home is ready for a fresh coat of paint that will not only enhance its appearance but also protect it from the elements. Taking the time to clean, repair, sand, prime, and caulk the surfaces will result in a professional-looking, long-lasting paint job that you can be proud of.
Investing in thorough preparation may require extra time and effort, but the results will be well worth it. A meticulously prepared surface allows the paint to adhere better, look smoother, and last longer, ultimately saving you time and money in the long run. Happy painting!