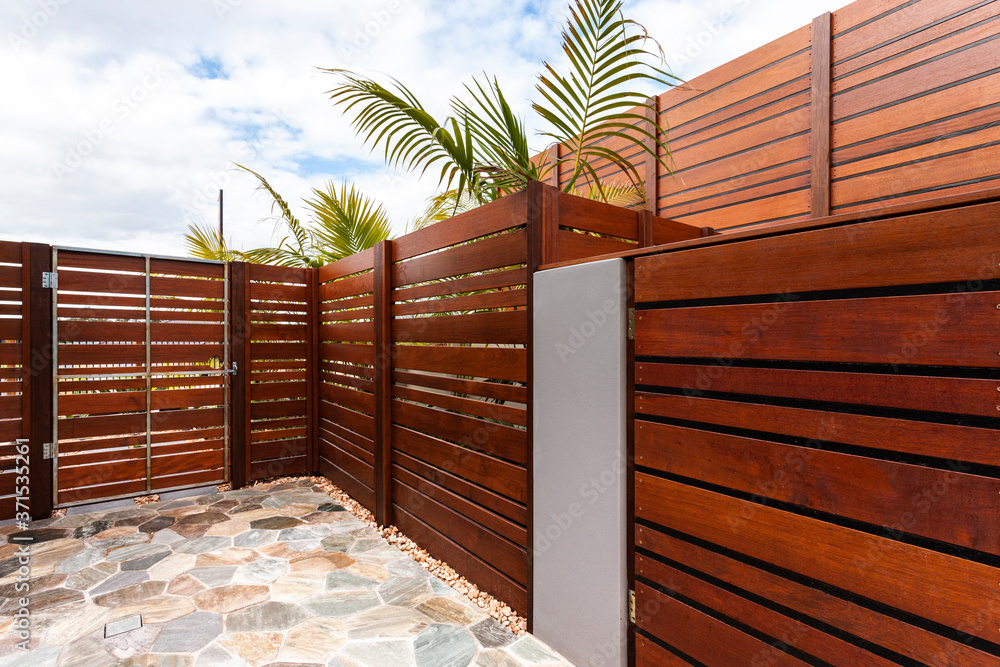
Benefits of a Wooden Fence
Before diving into the installation process, let’s explore the benefits of adding a wooden fence to your property:
- Privacy: A wooden fence can create a private space in your yard, shielding it from the view of neighbors and passersby.
- Security: It provides a barrier that can help keep children and pets safe while deterring intruders.
- Aesthetic Appeal: Wooden fences come in various styles and designs, enhancing the overall look of your landscape.
- Versatility: Wood can be customized to fit any design, and it can be painted or stained to match your home’s exterior.
- Increase Property Value: A well-built wooden fence can increase your property’s value and appeal to potential buyers.
Tools and Materials Needed
To install a wooden fence, you’ll need the following tools and materials:
- Fence posts
- Fence panels or individual pickets
- Concrete mix
- Gravel
- Post hole digger or auger
- Level
- Tape measure
- String and stakes
- Hammer
- Nails or screws
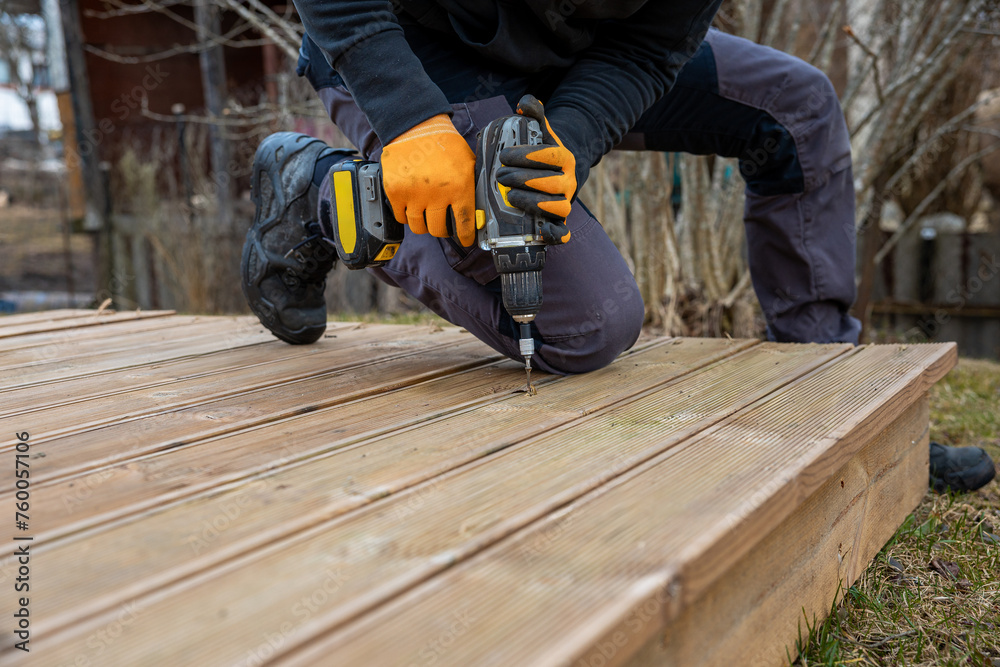
- Power drill
- Circular saw (if cutting panels or pickets)
- Safety gear (gloves, safety glasses)
- Paint or stain (optional)
Join HICP Homeowner’s Alliance
Connect with experts, get special discounts and enjoy member benefits
Step-by-Step Guide to Installing a Wooden Fence
Step 1: Plan and Design
- Determine the Purpose: Decide the main purpose of your fence (privacy, security, decoration) to choose the right design and materials.
- Check Local Regulations: Check local building codes and homeowner association guidelines for any restrictions on fence height, style, or placement.
- Mark the Property Line: Ensure you know where your property line is to avoid encroaching on your neighbor’s property. Use a tape measure and stakes to mark the line.
- Design the Layout: Plan the layout of your fence, including the placement of gates. Use string and stakes to outline where the fence will go.
Step 2: Prepare the Site
- Clear the Area: Remove any obstacles, vegetation, or debris from the fence line.
- Dig Post Holes: Use a post hole digger or auger to dig holes for the fence posts. Holes should be about one-third the height of the post and 6-12 inches in diameter. Space the holes 6-8 feet apart.
Step 3: Install Fence Posts
- Set Posts in Gravel: Pour a few inches of gravel into the bottom of each post hole for drainage.
- Place the Posts: Place a post in each hole, ensuring it is level and plumb. Use a level to check both vertically and horizontally.
- Pour Concrete: Mix the concrete according to the manufacturer’s instructions and pour it into the holes around the posts. Allow the concrete to set for at least 24 hours before attaching the fence panels or pickets.
Step 4: Attach Fence Panels or Pickets
For Fence Panels:
- Measure and Cut (If Necessary): Measure the distance between posts and cut the panels to fit if necessary.
- Attach Panels: Attach the panels to the posts using nails or screws. Start at one end of the fence line and work your way to the other end, ensuring each panel is level and securely fastened.
For Individual Pickets:
- Install Rails: Attach horizontal rails between the posts using nails or screws. You’ll need at least two rails for shorter fences and three for taller fences.
- Attach Pickets: Start at one end of the fence line and attach the pickets to the rails using nails or screws. Use a level to ensure each picket is plumb. Space the pickets evenly, using a spacer block if necessary.
Step 5: Install Gates
- Measure and Cut: Measure the opening for the gate and cut the gate frame to fit.
- Assemble the Gate: Assemble the gate frame and attach the pickets or panels.
- Attach Hinges and Latch: Attach hinges to the gate frame and then to the fence post. Install the latch according to the manufacturer’s instructions.
Step 6: Finish the Fence
- Paint or Stain: Apply paint or stain to the fence to protect the wood from the elements and enhance its appearance. Follow the manufacturer’s instructions for application and drying times.
- Inspect the Fence: Walk along the fence line to check for any loose nails or screws, and ensure all panels and pickets are securely fastened.
Tips for a Successful Fence Installation
- Use Quality Materials: Invest in high-quality wood and hardware to ensure a durable and long-lasting fence.
- Work in Sections: Building the fence in sections can help maintain accuracy and make the project more manageable.
- Check for Level: Regularly check that posts, panels, and pickets are level to ensure a straight and even fence line.
- Allow Concrete to Set: Give the concrete ample time to set before attaching panels or pickets to ensure the posts are secure.
- Follow Manufacturer’s Instructions: Always follow the manufacturer’s instructions for any products used in the installation.
When to Seek Professional Help
While installing a wooden fence is a manageable DIY project for many homeowners, there are times when professional help is necessary:
- Large Projects: If you are planning a large or complex fence, a professional can ensure accurate measurements and a high-quality finish.
- Difficult Terrain: If your property has uneven terrain or obstacles, a professional can navigate these challenges and ensure a level fence.
- Limited Tools or Experience: If you lack the necessary tools or experience, hiring a professional can save time and ensure a sturdy, professional-looking fence.
By following this comprehensive guide, you can successfully install a wooden fence that enhances your property’s privacy, security, and aesthetic appeal. Proper planning, quality materials, and attention to detail ensure a long-lasting and beautiful fence. Enjoy the satisfaction of a job well done and the benefits of your new wooden fence. Happy building!