Benefits of Refinishing an Old Wooden Table
Before diving into the refinishing process, let’s explore the benefits of refinishing an old wooden table:
- Restoration of Beauty: Refinishing restores the original beauty of the wood, highlighting its natural grain and color.
- Increased Longevity: Proper refinishing protects the wood from damage and extends the table’s lifespan.
- Personalization: Refinishing allows you to customize the table’s finish to match your style and home decor.
- Environmental Impact: Refinishing is a sustainable choice that reduces waste by giving new life to an old piece of furniture.
- Cost Savings: Refinishing an existing table is often more cost-effective than purchasing a new one.
Tools and Materials Needed
To refinish a wooden table, you’ll need the following tools and materials:
- Screwdriver (if disassembling the table)
- Drop cloth or plastic sheeting
- Sandpaper (various grits: 80, 120, 220)
- Sanding block or electric sander
- Wood filler (if needed)
- Putty knife
- Tack cloth
- Paintbrushes or foam brushes
- Wood stain or paint
- Wood conditioner (for softwoods)
- Polyurethane or another protective finish
- Mineral spirits (for cleaning brushes)
- Safety gear (gloves, goggles, mask)
Join HICP Homeowner’s Alliance
Connect with experts, get special discounts and enjoy member benefits
Step-by-Step Guide to Refinishing an Old Wooden Table
Step 1: Prepare the Workspace- Choose a Well-Ventilated Area: Work in a well-ventilated area, such as a garage or workshop, to avoid inhaling fumes from the stain and finish.
- Protect Surfaces: Lay down a drop cloth or plastic sheeting to protect your workspace from dust and spills.
- Gather Tools and Materials: Ensure all your tools and materials are within reach to streamline the process.
- Remove Hardware: Use a screwdriver to remove any hardware, such as screws, hinges, or drawer pulls. Set them aside in a safe place.
- Disassemble: If possible, disassemble the table to make sanding and refinishing easier. This may involve removing the legs, apron, or drawers.
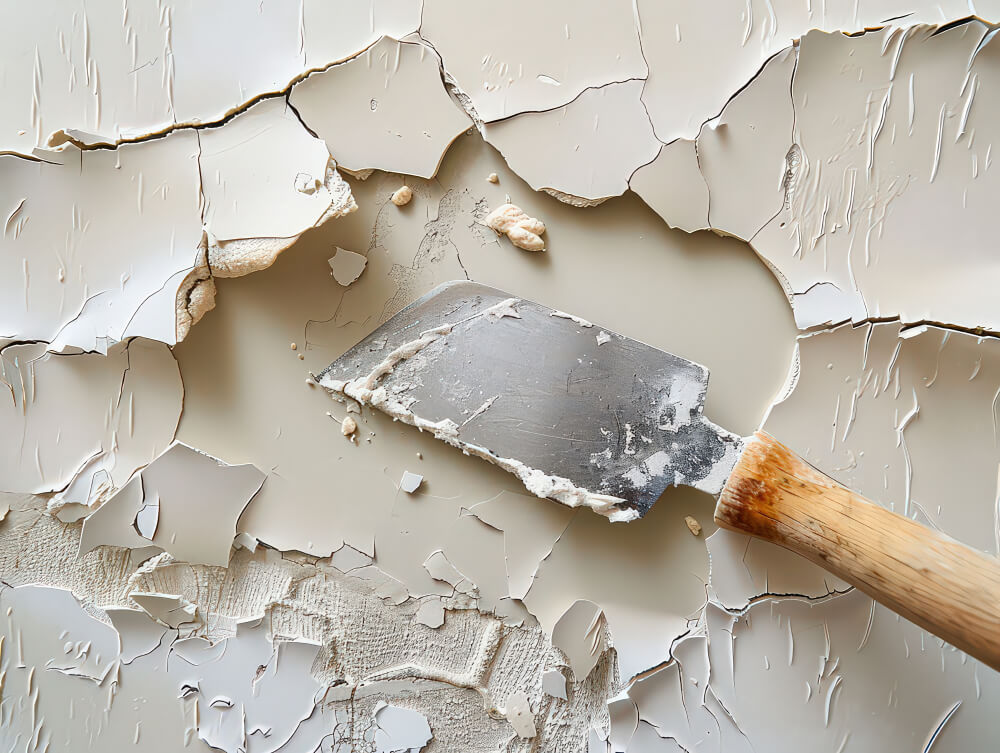
- Sand the Surface: Use coarse-grit sandpaper (80-grit) to remove the old finish. An electric sander can make this process faster and more efficient. Sand in the direction of the wood grain to avoid scratches.
- Clean the Surface: Wipe away dust with a tack cloth. Inspect the table for any remaining finish and sand again if necessary.
- Use a Chemical Stripper (Optional): For stubborn finishes, you may use a chemical stripper. Follow the manufacturer’s instructions and use safety gear to protect yourself from fumes and contact.
- Fill Holes and Cracks: Use wood filler to fill any holes, cracks, or dents. Apply the filler with a putty knife and smooth it out. Allow it to dry completely.
- Sand Smooth: Once the wood filler is dry, sand the area with medium-grit sandpaper (120-grit) to ensure a smooth surface.
- Sand with Finer Grits: Progressively sand the entire table with medium-grit (120-grit) and fine-grit sandpaper (220-grit) to achieve a smooth, even surface.
- Final Cleaning: Wipe down the table with a tack cloth to remove all dust and debris.
- Condition the Wood: Apply a wood conditioner to softwoods like pine or maple to ensure even absorption of the stain. Follow the manufacturer’s instructions for application and drying times.
- Choose a Stain: Select a wood stain that complements your desired finish. Test the stain on a hidden area or scrap piece of wood to ensure the color is right.
- Apply the Stain: Use a paintbrush or foam brush to apply the stain in the direction of the wood grain. Wipe off excess stain with a clean cloth to achieve the desired color intensity. Allow the stain to dry according to the manufacturer’s instructions.
- Apply Additional Coats (If Needed): For a deeper color, apply additional coats of stain, allowing each coat to dry completely before applying the next.
- Choose a Finish: Select a protective finish, such as polyurethane, to protect the wood and enhance its appearance. Polyurethane comes in various sheens, from matte to high gloss.
- Apply the Finish: Use a clean paintbrush to apply the finish in long, even strokes, following the direction of the wood grain. Avoid applying too much finish to prevent drips and bubbles.
- Sand Between Coats: Once the first coat is dry, lightly sand the surface with fine-grit sandpaper (220-grit) to smooth out any imperfections. Wipe away dust with a tack cloth.
- Apply Additional Coats: Apply at least two to three coats of finish, sanding between each coat for a smooth, durable surface. Allow the final coat to cure completely before using the table.
- Reattach Hardware: Once the finish is fully cured, reattach any hardware, such as screws, hinges, or drawer pulls.
- Reassemble the Table: If you disassembled the table, carefully reassemble it, ensuring all parts are securely fastened.
Tips for a Successful Refinishing Project
- Work in a Dust-Free Environment: Dust can ruin the finish, so work in a clean, dust-free environment.
- Use Quality Materials: Invest in high-quality stains, finishes, and tools for the best results.
- Follow Manufacturer’s Instructions: Always follow the manufacturer’s instructions for all products used in the refinishing process.
- Be Patient: Allow adequate drying and curing times for stains and finishes to ensure a durable and professional-looking result.
When to Seek Professional Help
While refinishing an old wooden table is a manageable DIY project for most homeowners, there are times when professional help is necessary:
- Extensive Damage: If the table has extensive damage, such as deep scratches, cracks, or structural issues, a professional can provide the necessary repairs and refinishing.
- Complex Designs: For tables with intricate designs, carvings, or veneers, a professional can ensure a high-quality finish without damaging the details.
- Limited Tools or Experience: If you lack the necessary tools or experience, hiring a professional can save time and ensure a flawless result.
By following this comprehensive guide, you can successfully refinish an old wooden table, restoring its beauty and functionality. Proper refinishing techniques ensure a smooth, durable finish that enhances your home’s decor and preserves the table for years to come. Enjoy the satisfaction of a job well done and the renewed charm of your refinished table. Happy refinishing!


