Benefits of Installing a Kitchen Backsplash
Before diving into the installation process, let’s explore the benefits of adding a backsplash to your kitchen:
- Aesthetic Appeal: A backsplash can significantly enhance the look of your kitchen, adding color, texture, and style.
- Wall Protection: It protects your walls from splashes, stains, and moisture, making it easier to clean and maintain your kitchen.
- Personalization: A backsplash allows you to express your personal style and create a unique focal point in your kitchen.
- Increased Home Value: A well-installed backsplash can add value to your home, making it more appealing to potential buyers.
Tools and Materials Needed
To install a backsplash, you’ll need the following tools and materials:
- Tiles (ceramic, glass, stone, or metal)
- Tile adhesive (thin-set mortar or mastic)
- Notched trowel
- Tile spacers
- Tile cutter or wet saw
- Level
- Tape measure
- Pencil
- Grout
- Grout float
- Grout sealer
- Sponge
- Bucket
- Utility knife
- Caulking gun and silicone caulk
- Painter’s tape
- Safety glasses and gloves
Join HICP Homeowner’s Alliance
Connect with experts, get special discounts and enjoy member benefits
Step-by-Step Guide to Installing a Kitchen Backsplash
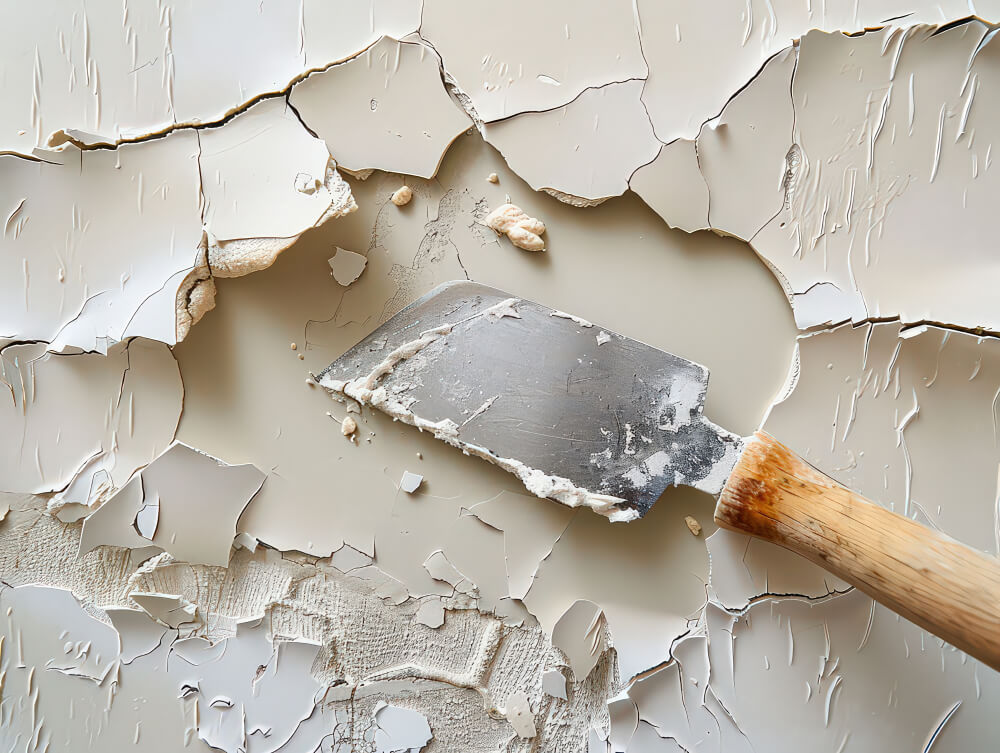
Step 1: Prepare the Surface- Clean the Wall: Ensure the wall surface where you will install the backsplash is clean, dry, and free of grease or dust. Use a mild detergent and water to clean the wall, and let it dry completely.
- Remove Outlet Covers: Remove any outlet covers or switch plates on the wall. Turn off the power to the outlets and switches to avoid electrical hazards.
- Protect the Countertops: Cover your countertops with a drop cloth or painter’s tape to protect them from adhesive and grout.
- Measure the Area: Measure the height and width of the area where you will install the backsplash. Calculate the total square footage to determine how many tiles you’ll need.
- Dry Lay the Tiles: Lay out the tiles on a flat surface to plan the pattern and ensure you have enough tiles. This step helps you visualize the final result and make adjustments before applying adhesive.
- Mark the Center: Find the center point of the wall and draw a vertical line with a pencil. This will help you start the installation in the middle and work outward for a balanced look.
- Mix the Adhesive: If you’re using thin-set mortar, mix it according to the manufacturer’s instructions. If you’re using pre-mixed adhesive (mastic), you can skip this step.
- Spread the Adhesive: Use a notched trowel to spread a thin layer of adhesive on a small section of the wall, starting at the center. Hold the trowel at a 45-degree angle to create even ridges in the adhesive.
- Place the First Tile: Press the first tile into the adhesive at the center line, applying firm pressure to ensure good contact.
- Continue Tiling: Place the next tiles, using tile spacers to maintain consistent gaps between them. Work in small sections, spreading adhesive and placing tiles as you go. Use a level to check that the tiles are even.
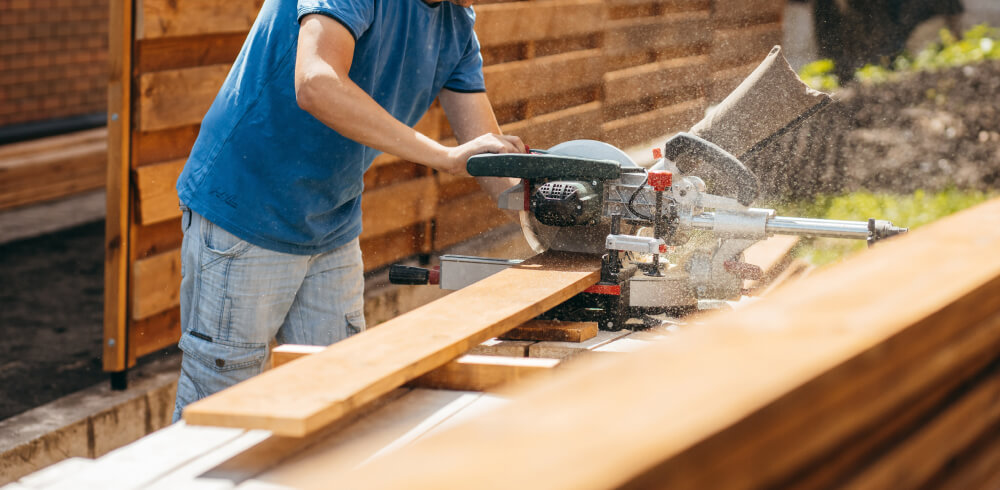
- Cut Tiles as Needed: Use a tile cutter or wet saw to cut tiles to fit around outlets, corners, and edges. Measure and mark the tiles before cutting to ensure accuracy.
Allow the adhesive to dry according to the manufacturer’s instructions, usually 24 hours. Avoid touching or disturbing the tiles during this time to ensure they set properly.
- Mix the Grout: Mix the grout according to the manufacturer’s instructions. Use a grout float to apply the grout over the tiles, holding the float at a 45-degree angle and pressing the grout into the gaps.
- Remove Excess Grout: Use the edge of the grout float to scrape off excess grout from the surface of the tiles. Be careful not to remove grout from the gaps.
- Clean the Tiles: After the grout has set for about 10-15 minutes, use a damp sponge to wipe off any remaining grout from the surface of the tiles. Rinse the sponge frequently and be gentle to avoid removing grout from the gaps.
- Let the Grout Cure: Allow the grout to cure according to the manufacturer’s instructions, typically 24-48 hours.
- Apply Grout Sealer: Once the grout has cured, apply a grout sealer to protect it from stains and moisture. Follow the manufacturer’s instructions for application and drying times.
- Reattach Outlet Covers: Replace the outlet covers and switch plates, ensuring they fit properly around the tiles.
- Apply Caulk: Use a caulking gun to apply silicone caulk along the edges of the backsplash where it meets the countertop and walls. Smooth the caulk with your finger or a caulking tool for a clean finish.
- Remove Painter’s Tape: If you used painter’s tape to protect the countertops, carefully remove it once the caulk has dried.
Tips for a Successful Backsplash Installation
- Choose the Right Tiles: Select tiles that are suitable for kitchen use and match your overall design aesthetic.
- Use Quality Materials: Invest in high-quality adhesive, grout, and tools for a professional finish.
- Work in Small Sections: Working in small sections allows you to apply the adhesive and place the tiles before the adhesive dries.
- Take Your Time: Rushing can lead to mistakes. Take your time to measure, cut, and place each tile accurately.
- Keep Clean: Regularly clean your tools and work area to prevent adhesive and grout from drying on them.
When to Seek Professional Help
While installing a backsplash is a manageable DIY project for many homeowners, there are times when professional help is necessary:
- Complex Patterns: If you’re using a complex tile pattern or mosaic, a professional can ensure precise placement and alignment.
- Custom Designs: For custom designs or unique tile materials, a professional can provide expert installation.
- Limited Tools or Experience: If you lack the necessary tools or experience, hiring a professional can save time and ensure a high-quality result.
By following this comprehensive guide, you can successfully install a kitchen backsplash that enhances the beauty and functionality of your space. Proper installation ensures a durable, easy-to-clean surface that will protect your walls and add a stylish touch to your kitchen. Enjoy the satisfaction of a job well done and the benefits of a beautiful new backsplash. Happy tiling!