Installing a new interior door can significantly enhance the aesthetics and functionality of your home. Whether you’re replacing an old, damaged door or simply updating your interior style, doing it yourself can save you money and give you a sense of accomplishment. This comprehensive guide will walk you through the step-by-step process of installing a new interior door, ensuring a professional-looking result.
Benefits of Installing a New Interior Door
Before diving into the installation process, let’s explore the benefits of installing a new interior door:
- Enhanced Aesthetics: A new door can update the look of your home, adding a fresh, modern touch or restoring a classic style.
- Improved Functionality: Replacing a damaged or misaligned door can improve functionality, ensuring smooth operation and better sound insulation.
- Increased Home Value: Quality interior doors can add to your home’s value, making it more appealing to potential buyers.
- Energy Efficiency: Properly installed doors can help maintain temperature control, contributing to overall energy efficiency.
Tools and Materials Needed
To install a new interior door, you’ll need the following tools and materials:
- New interior door (pre-hung or slab)
- Tape measure
- Level
- Pencil
- Hammer
- Nails or screws
- Screwdriver
- Chisel
- Utility knife
- Wood shims
- Caulking gun and caulk
- Drill and drill bits
- Pry bar
- Safety glasses and ear protection
- Saw (if trimming the door)
- Sandpaper or electric sander
Join HICP Homeowner’s Alliance
Connect with experts, get special discounts and enjoy member benefits
Step-by-Step Guide to Installing a New Interior Door
Step 1: Remove the Old Door- Remove the Door from Hinges: Open the door and, using a hammer and screwdriver, tap out the hinge pins. Carefully lift the door off the hinges and set it aside.
- Remove the Door Trim: Use a utility knife to cut through any paint or caulk around the door trim. Use a pry bar to gently remove the trim without damaging the surrounding wall.
- Remove the Old Door Frame: If you’re replacing the door frame, remove any nails or screws securing it to the wall studs. Carefully pry the frame away from the wall.
- Check the Rough Opening: Measure the rough opening (the space in the wall where the door frame will go) to ensure it’s the correct size for your new door. The opening should be slightly larger than the door frame to allow for shims and adjustments.
- Clean the Opening: Remove any debris, old nails, or screws from the rough opening. Ensure the opening is clean and level.
- Set the Door in Place: Position the pre-hung door (which includes the door slab already attached to a frame) in the rough opening. Ensure the door opens in the desired direction.
- Check for Level and Plumb: Use a level to check that the door frame is plumb (vertically straight) and level (horizontally straight). Adjust as necessary by inserting wood shims between the door frame and the rough opening.
- Secure the Frame: Once the door is level and plumb, secure the frame to the wall studs using nails or screws. Start with the hinge side, then secure the opposite side and the top.
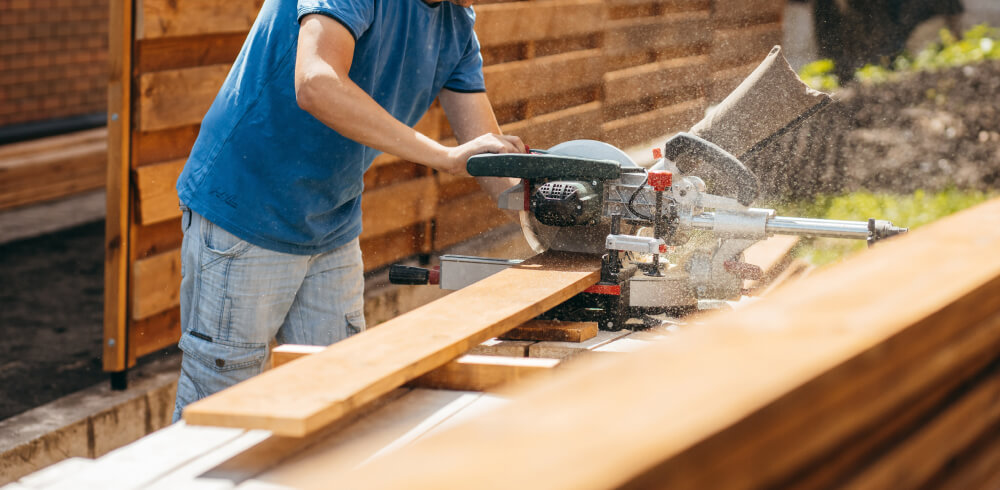
- Measure and Trim: Measure the new door slab to fit the existing frame. If necessary, trim the door using a saw. Sand the edges smooth after trimming.
- Mark Hinge and Lock Locations: Use the old door as a template to mark the hinge and lock locations on the new door. Alternatively, measure and mark directly on the new door.
- Cut Hinge Mortises: Use a chisel to cut shallow recesses (mortises) where the hinges will sit. The mortises should be the same depth as the hinge leaves to ensure a flush fit.
- Attach Hinges: Attach the hinges to the door using screws. Align the door in the frame and secure the hinges to the door frame.
Step 4: Install the Door
- Check the Fit: Open and close the door to check the fit. The door should swing smoothly without sticking. Adjust the shims as necessary to achieve a perfect fit.
- Secure the Hinges: Once the fit is correct, secure the hinges to the door frame with screws. Make sure the screws are tight and the hinges are flush with the frame and door.
- Install the Lockset: Follow the manufacturer’s instructions to install the door handle and lockset. This typically involves drilling holes for the handle and latch, inserting the latch into the door edge, and securing the handle and strike plate.
- Install Door Trim: Reattach the door trim around the frame using nails or screws. Ensure the trim is flush with the wall and door frame. Use a level to check for straightness.
- Caulk the Trim: Apply a bead of caulk along the edges of the trim to seal any gaps and create a smooth finish. Wipe away excess caulk with a damp cloth.
- Paint or Stain: If the door and trim are unfinished, paint or stain them to match your home’s decor. Allow the paint or stain to dry completely before closing the door.
Tips for a Successful Installation
- Measure Accurately: Precise measurements are crucial for a proper fit. Measure twice before cutting or drilling.
- Use Quality Materials: Invest in quality doors, hinges, and locksets for durability and longevity.
- Work Slowly and Carefully: Rushing can lead to mistakes. Take your time to ensure each step is done correctly.
- Check for Square: Regularly check that the door and frame are square (right angles) to ensure a smooth operation.
- Follow Manufacturer’s Instructions: Always refer to the manufacturer’s instructions for specific guidelines related to your door and hardware.
When to Seek Professional Help
While installing an interior door is a manageable DIY project for many homeowners, there are times when professional help is necessary:
- Structural Issues: If your door frame or rough opening has significant structural problems, such as rot or severe misalignment, a professional can make the necessary repairs.
- Custom Doors: If you’re installing custom or oversized doors, a professional can ensure a perfect fit and finish.
- Limited Tools or Experience: If you lack the necessary tools or carpentry experience, hiring a professional can save time and ensure a high-quality result.
By following this comprehensive guide, you can successfully install a new interior door, enhancing the functionality and aesthetics of your home. Proper installation ensures smooth operation, improved energy efficiency, and a professional finish. Enjoy the satisfaction of a job well done and the benefits of a beautiful new door. Happy installing!


