Understanding the Basics
Before diving into a DIY insulation project, it’s essential to understand the basics of home insulation. Insulation works by reducing heat transfer, keeping your home warmer in the winter and cooler in the summer. The effectiveness of insulation is measured by its R-value, which indicates its resistance to heat flow. Higher R-values provide better thermal performance.
Preparing for Your Insulation Project
1. Assess Your Needs
- Identify Areas: Determine which areas of your home need insulation. Common areas include
attics, walls, basements, crawl spaces, and floors. - Check Existing Insulation: Inspect existing insulation for gaps, damage, or signs of settling.
This will help you decide whether to add more insulation or replace old materials.
2. Calculate the Amount of Insulation Needed
- Measure the dimensions of the areas to be insulated.
- Use an online insulation calculator or consult product packaging to determine the amount of insulation
required based on the R-value and coverage area.
3. Choose the Right Insulation Material
- Fiberglass Batts and Rolls: Easy to handle and install, suitable for walls, floors, and attics.
- Loose-Fill Insulation: Ideal for attics and hard-to-reach areas, available in cellulose or
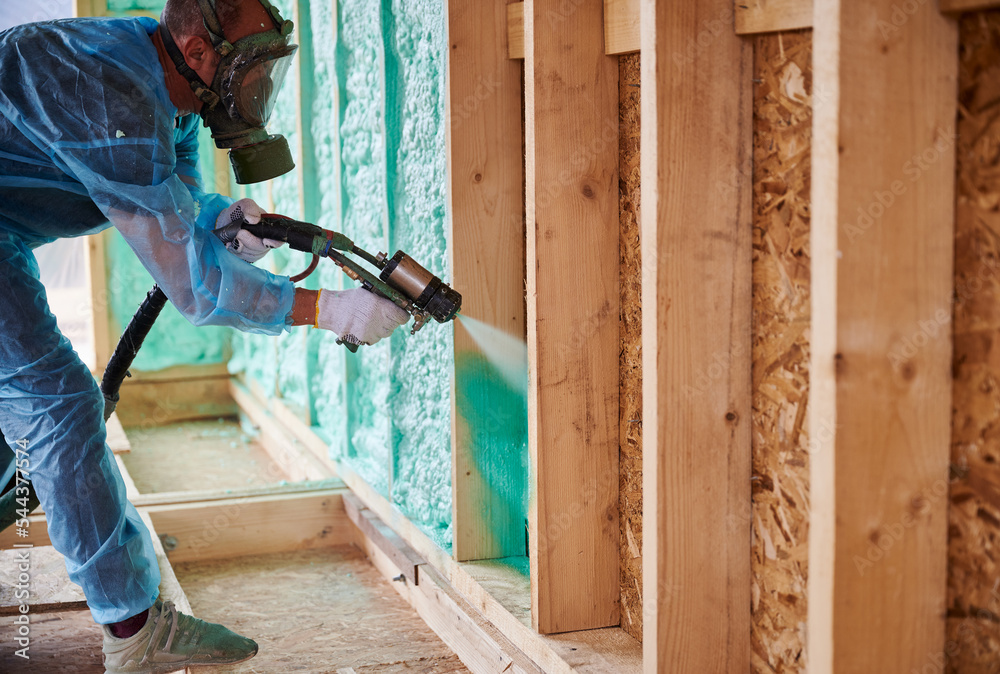
fiberglass. - Spray Foam: Provides excellent air sealing and insulation, best for small gaps and crevices.
- Rigid Foam Boards: High R-value, suitable for exterior walls, basement walls, and foundation
insulation.
Essential Tools and Materials
To ensure a successful DIY insulation project, gather the following tools and materials:
- Insulation material (batts, rolls, loose-fill, spray foam, or rigid foam)
- Utility knife or insulation cutter
- Staple gun and staples
- Measuring tape
- Protective gear (gloves, safety goggles, dust mask, long-sleeved clothing)
- Insulation supports (for attic installations)
- Vapor barrier (if needed)
- Adhesive or foam sealant (for spray foam insulation)
Join HICP Homeowner’s Alliance
Connect with experts, get special discounts and enjoy member benefits
Step-by-Step Installation Guide
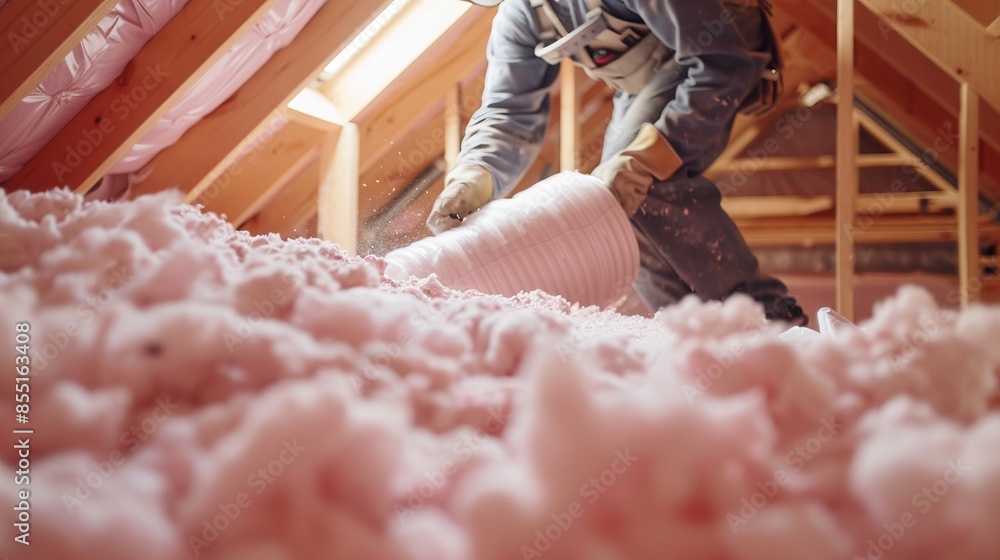
1. Safety First- Wear protective gear to avoid irritation from insulation materials.
- Ensure proper ventilation when working with insulation, especially spray foam.
- Follow manufacturer’s safety guidelines and instructions.
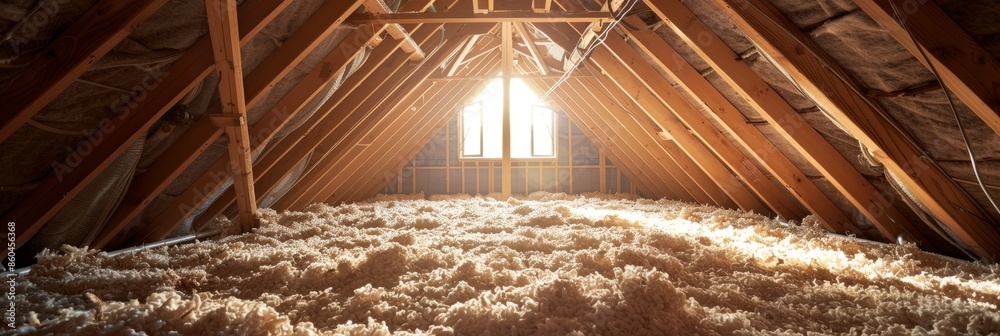
- Preparation: Clear the attic of debris and ensure there is adequate lighting.
- Install Batts or Rolls: Place insulation between the joists, ensuring a snug fit without compressing the material. Use a staple gun to secure the insulation in place.
- Loose-Fill Insulation: Use a blower machine to evenly distribute loose-fill insulation across the attic floor. Aim for a uniform depth to achieve the desired R-value.
- Air Sealing: Seal any gaps or cracks with spray foam or caulk before adding insulation to prevent air leaks.
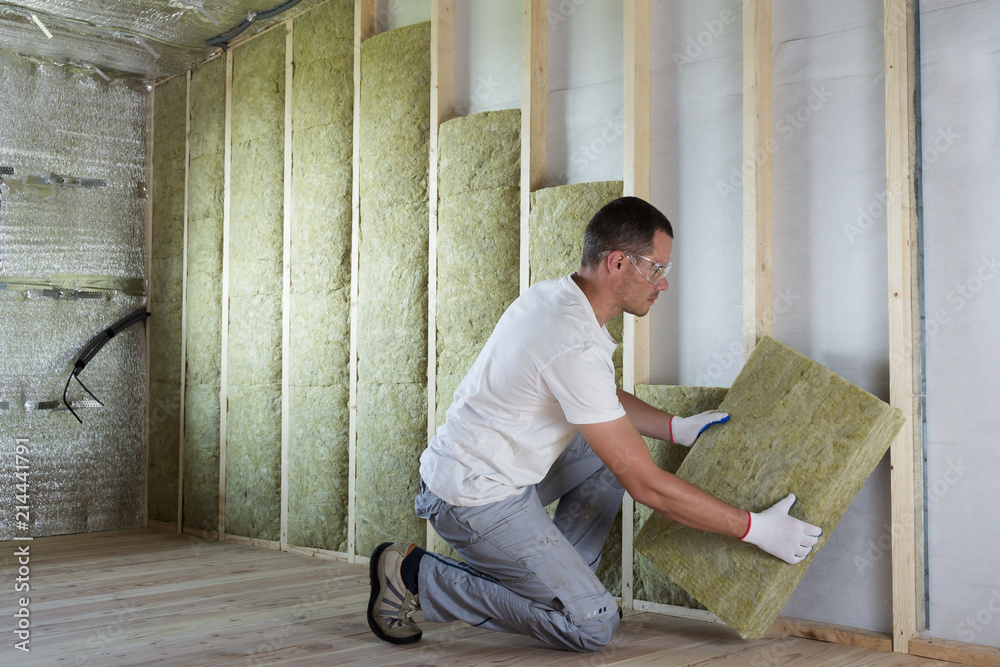
- Preparation: Remove drywall or paneling if necessary to access wall cavities.
- Install Batts or Rolls: Cut the insulation to fit snugly between wall studs. Use a staple gun to attach a vapor barrier if required.
- Blown-In Insulation: Drill holes at the top of the wall cavities and use a blower machine to fill the cavities with loose-fill insulation.
- Preparation: Ensure the area is dry and free of moisture issues.
- Install Rigid Foam Boards: Attach foam boards to basement walls using adhesive or mechanical fasteners. Seal joints with foam sealant or tape.
- Crawl Space: Install insulation between floor joists, securing it with insulation supports. Consider using a vapor barrier to prevent moisture issues.
- Preparation: Clear the area beneath the floor and ensure it is dry.
- Install Batts or Rolls: Fit insulation between floor joists and secure with insulation supports. For added protection, install a vapor barrier if needed.
Tips and Tricks for a Successful DIY Insulation Project
1. Measure Twice, Cut Once- Accurate measurements are crucial for ensuring insulation fits properly. Measure each section twice before cutting the insulation material.
- Insulation works best when it maintains its loft. Avoid compressing the material, as this reduces its R-value and effectiveness.
- Air leaks can undermine the effectiveness of insulation. Use caulk, weatherstripping, or spray foam to seal gaps and cracks around windows, doors, and other openings.
- Ensure your insulation project complies with local building codes and regulations. This is especially important for vapor barriers and fire safety requirements.
- Tackle the insulation project in manageable sections to ensure thorough coverage and reduce the risk of missing areas.
- Periodically inspect and maintain your insulation to ensure it remains effective. Check for signs of moisture, pests, or damage and address any issues promptly.
Insulating your home as a DIY project can be a rewarding and cost-effective way to improve energy efficiency, reduce utility bills, and enhance overall comfort. By understanding the basics, preparing adequately, and following proper installation techniques, you can achieve professional-quality results. Remember to prioritize safety, choose the right materials, and seal air leaks to maximize the benefits of your insulation project.
For homeowners looking to enhance their home’s performance, DIY insulation is a practical and impactful step. With the right knowledge and tools, you can create a more comfortable, energy-efficient, and eco-friendly living environment.